Payment Links
Accept card and wallet payments via any messaging app with Payment Links
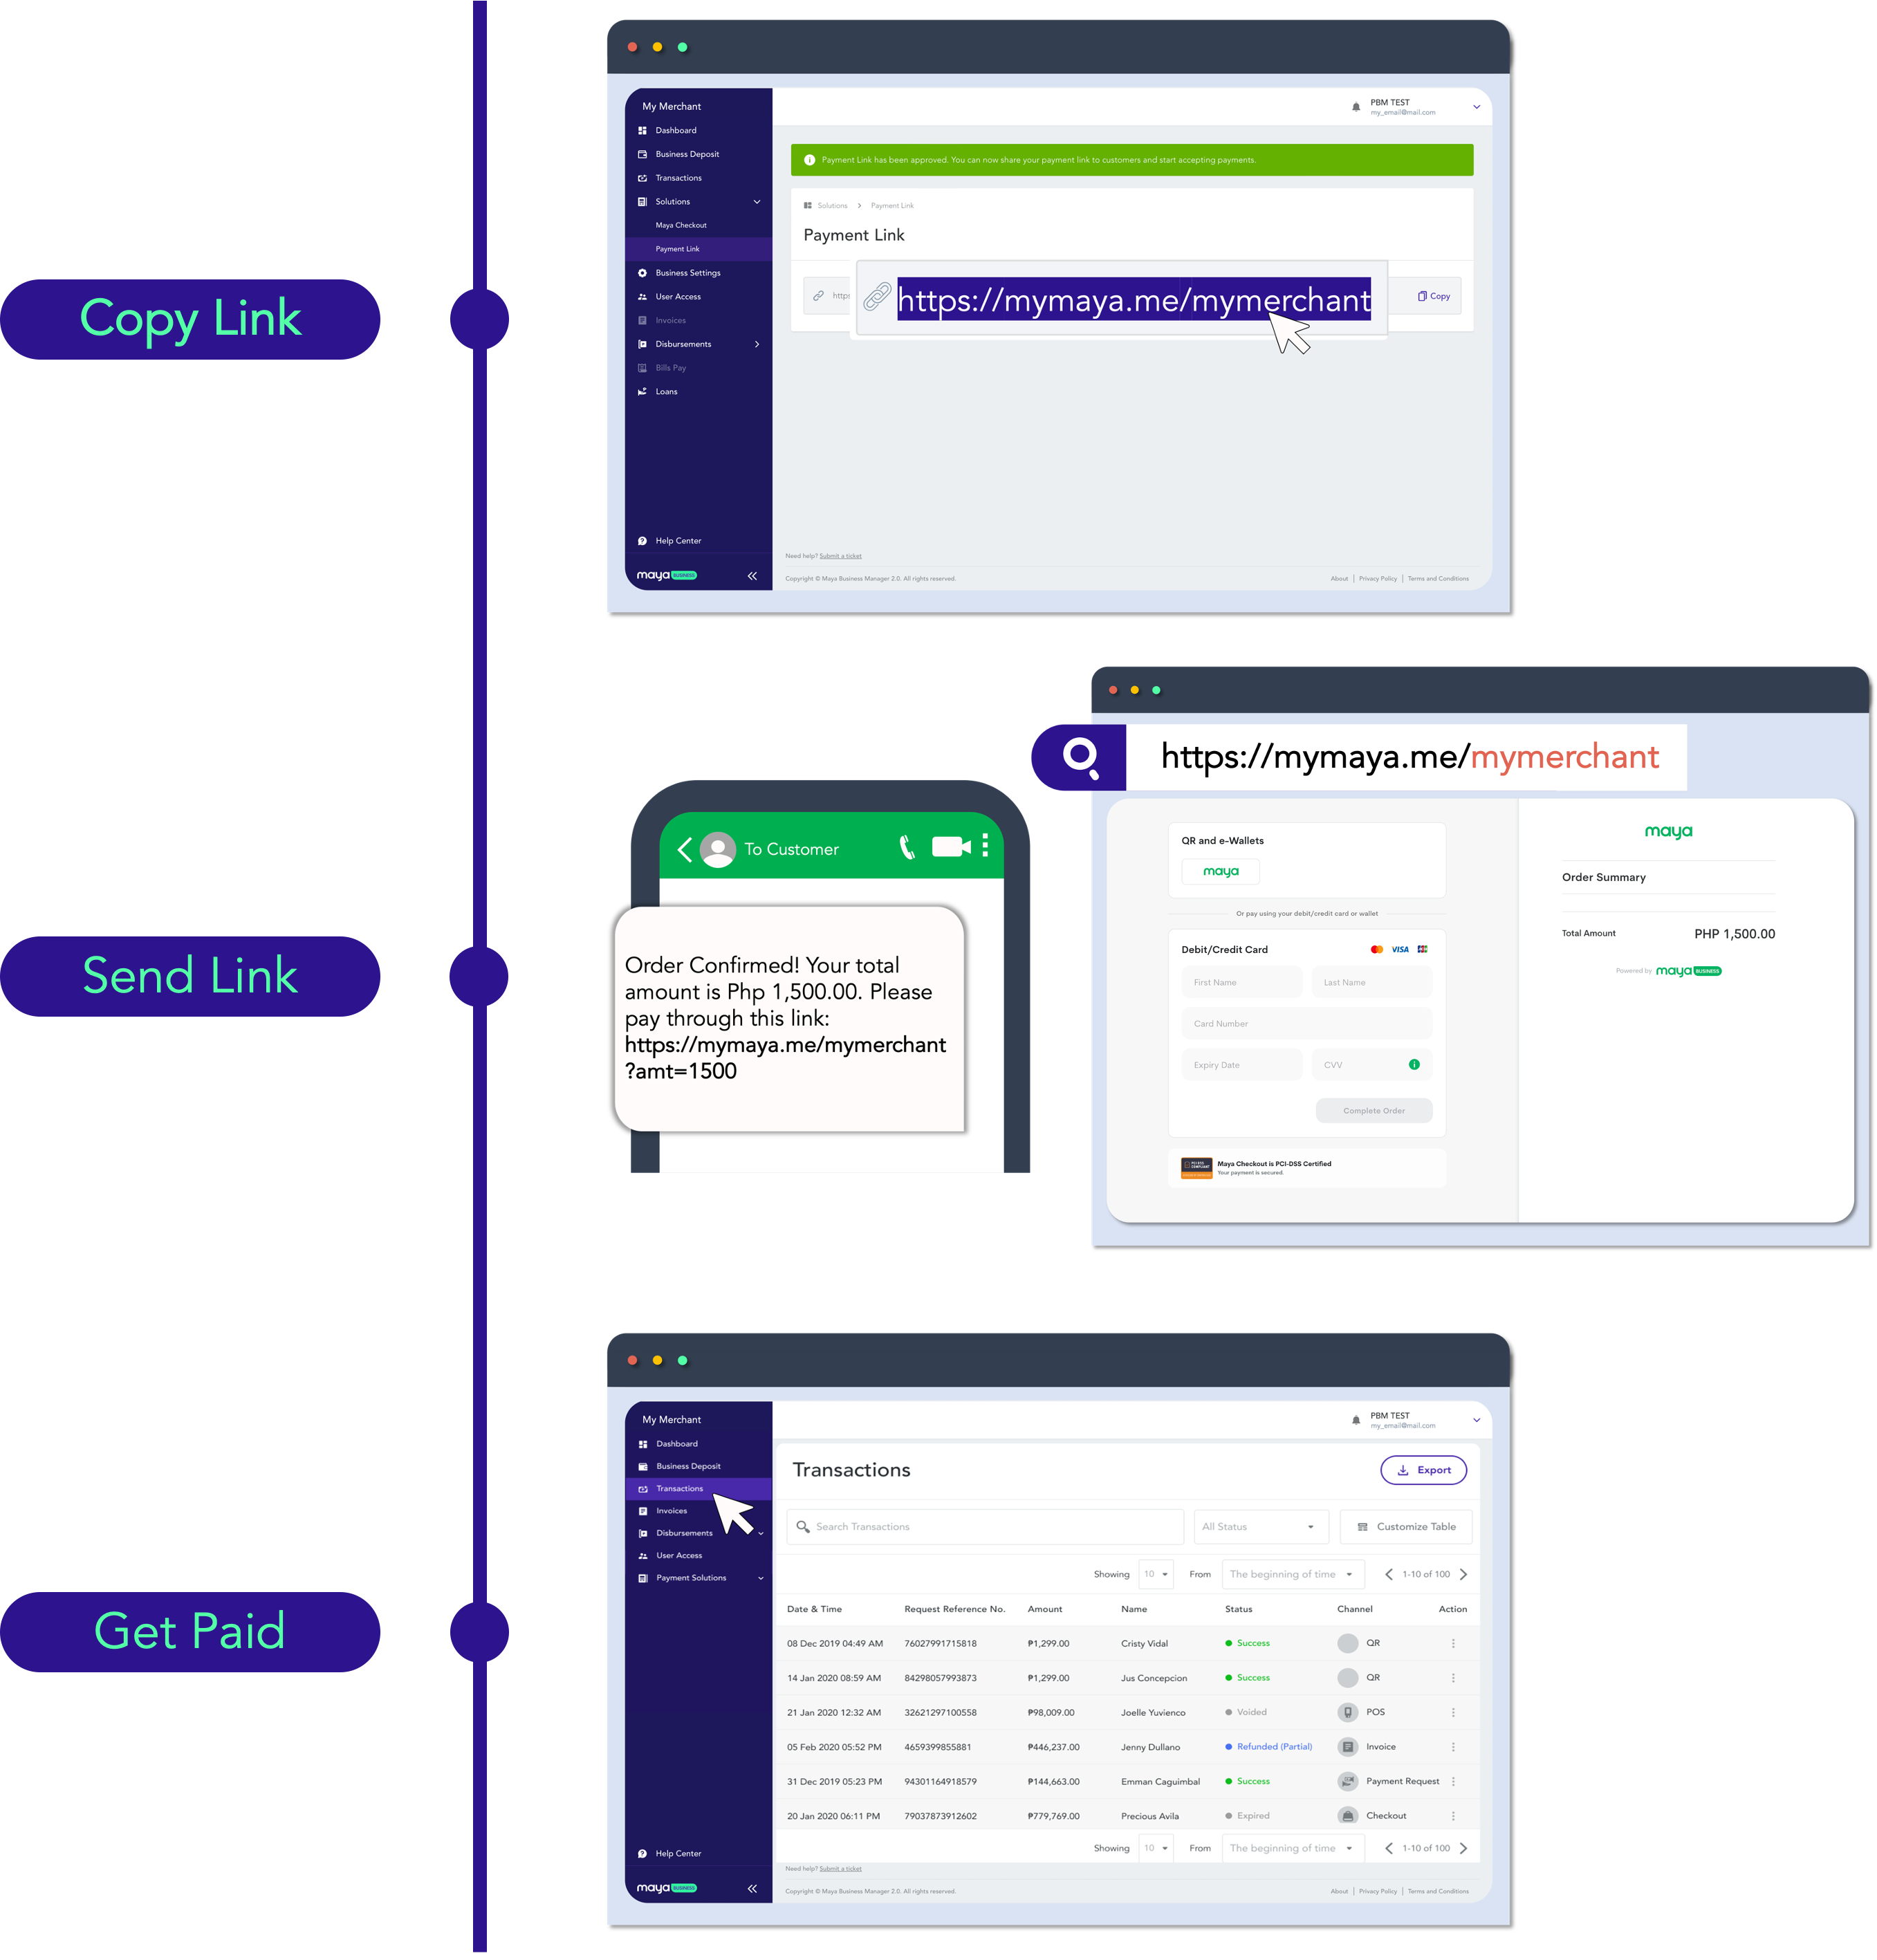
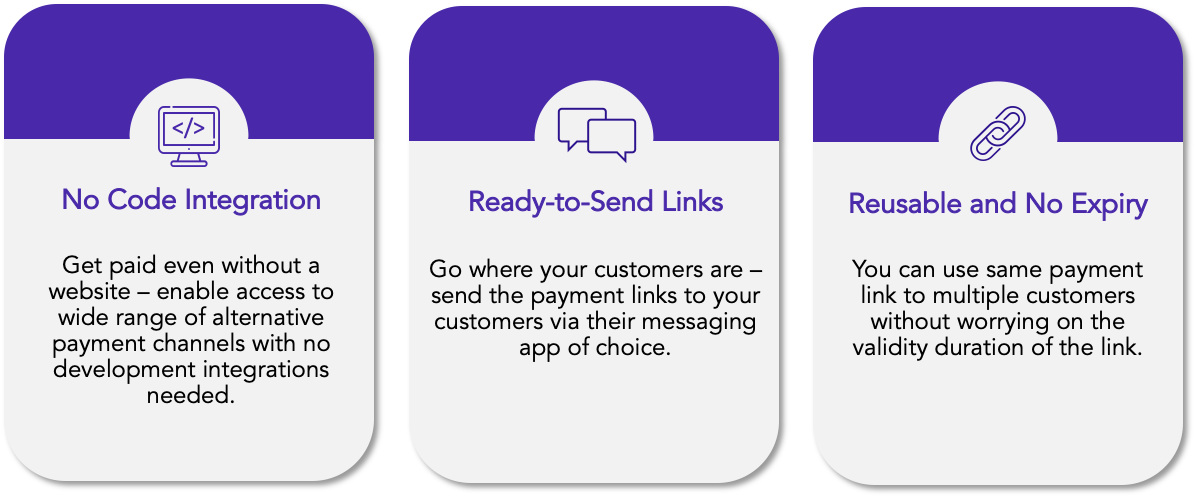
With Maya’s Payment Links, you can start accepting card and wallet payments via any messaging app with just payment links.
Why Payment Links?
Get Paid with Payment Links
1 Signup for a Maya Business 2.0 Account
Register and setup your account in Maya Business Manager.
If you already have an existing Maya Business Manager Account, you may skip this step.
2 Obtain your payment links
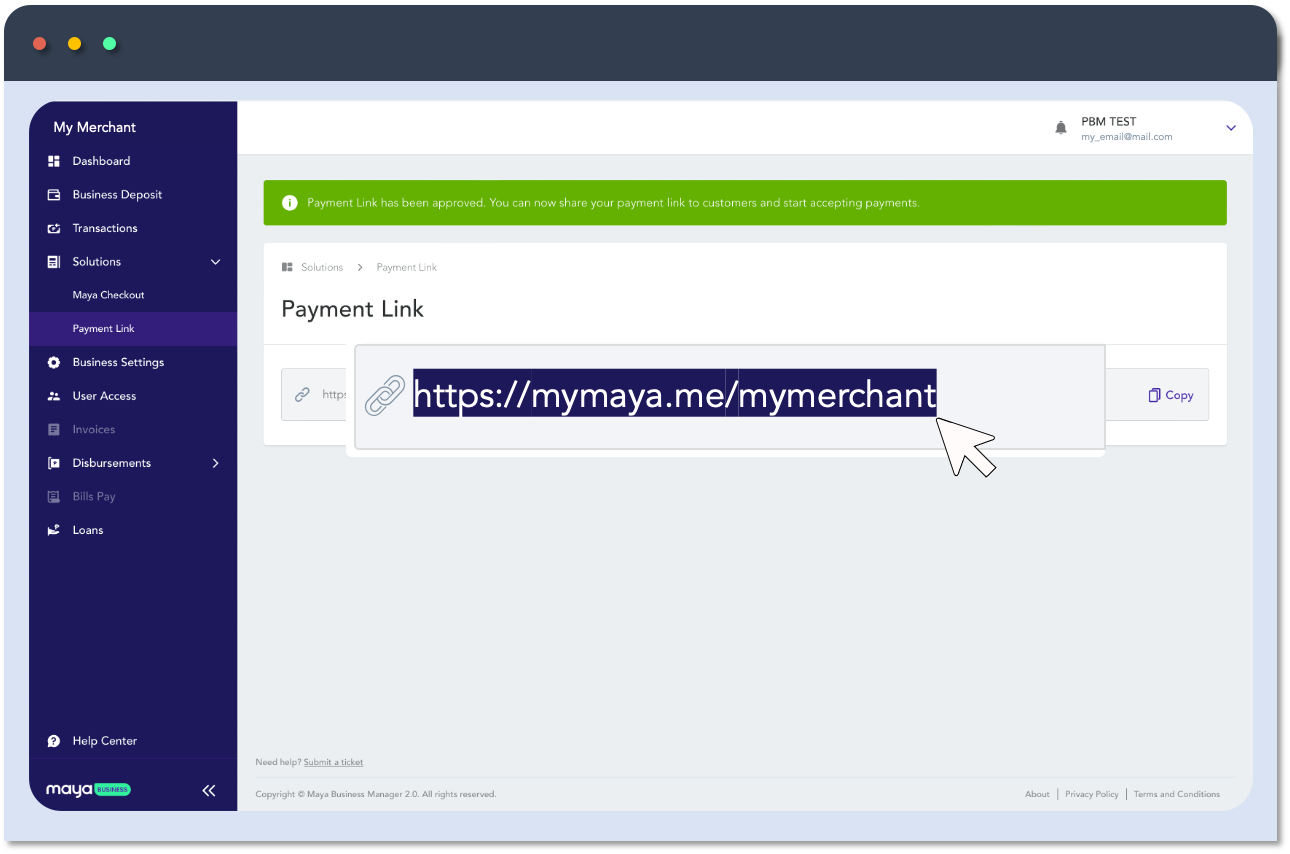
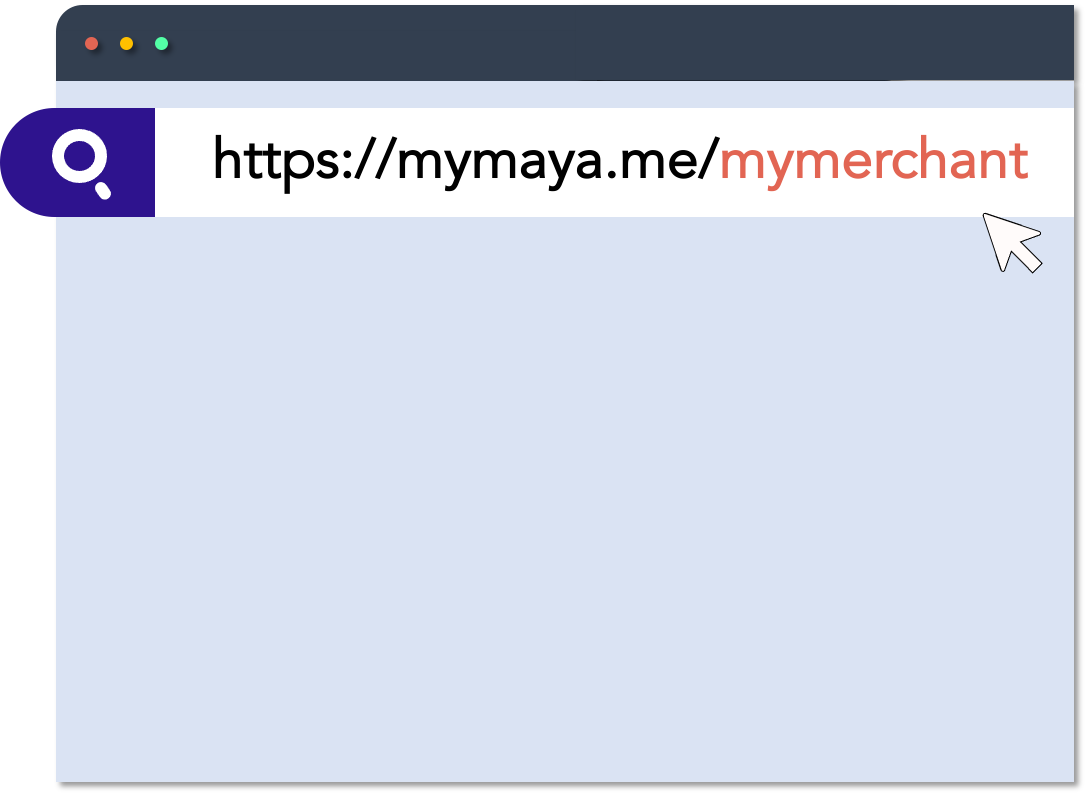
Payment links are auto-generated once you activate Checkout and Invoicing from the Maya Business Manager. The generated link or URL will have the following format:
https://mymaya.me/{merchantAlias}
Keep in mind
merchantAliasis defined during onboarding and will always be part of the payment links.
If you wish to modify/update your merchant alias, you may send your request to your Maya Relationship Manager.
Tips
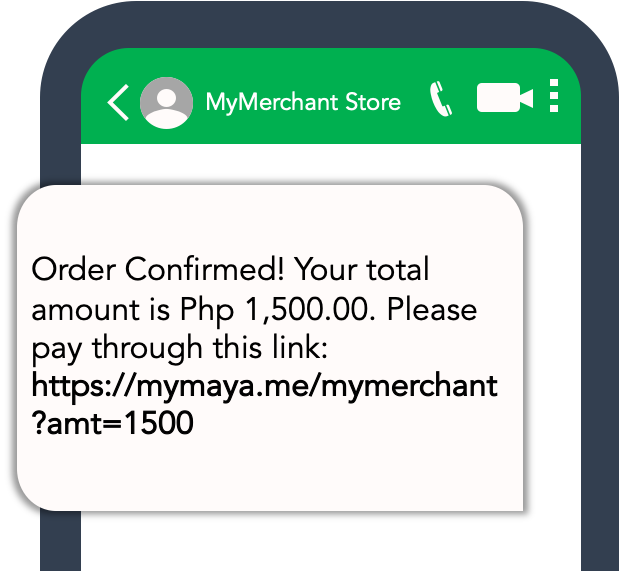
You can also specify the transaction amount in the payment link by adding
?amt={amount}after themerchantAlias. With this, customers no longer need to manually input the amount. Format: https://mymaya.me/{merchantAlias}?amt={amount}
Sample:
https://sandbox.mymaya.me/SbxInv?amt=100
3 Send payment links
Bill your customers simply by copying the payment link and send it via any messaging channels (e.g. Viber, WhatsApp, etc.).
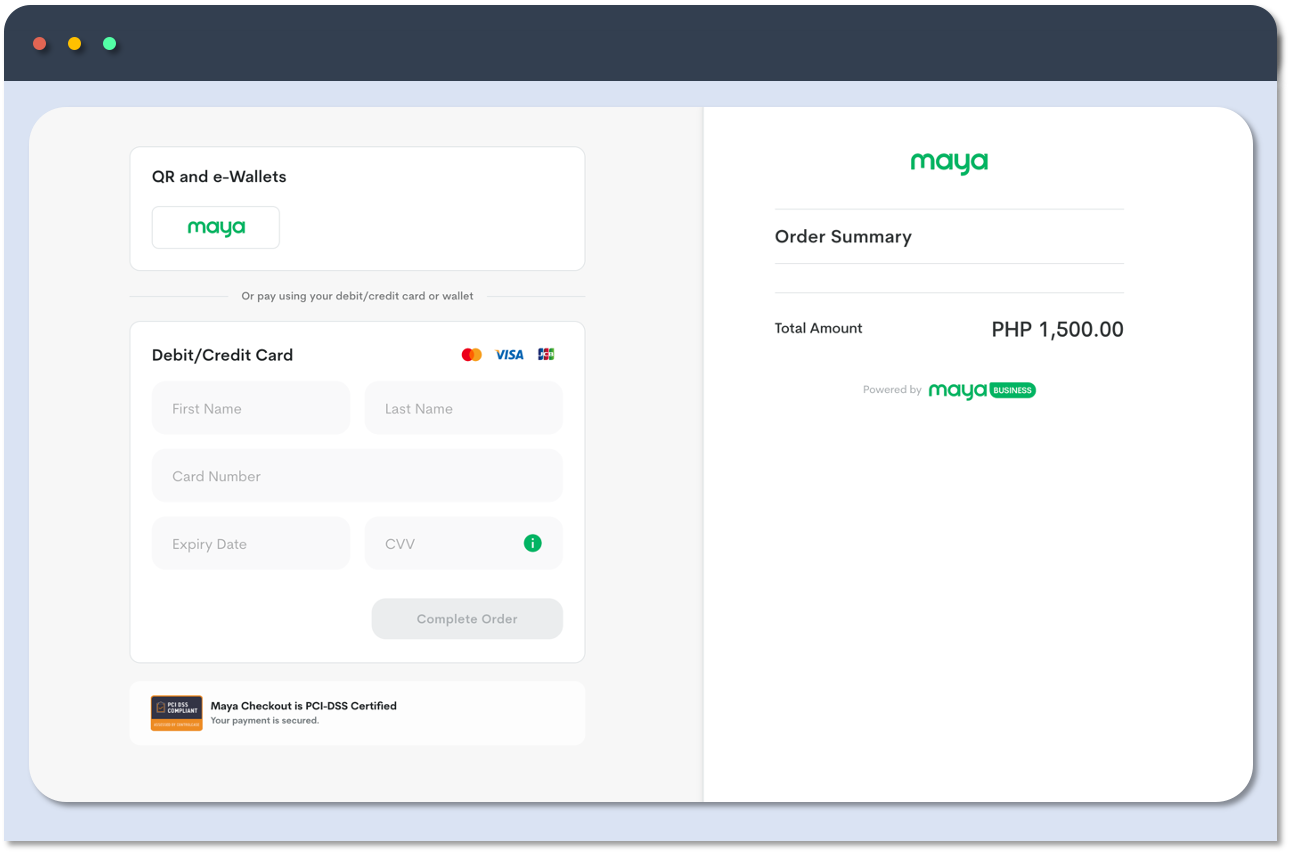
After confirming the amount, the Customer will be redirected to Maya’s Checkout Page to complete the transaction. They can choose from various payment methods like Debit / Credit Cards, and E-wallets like Maya, QRPH, etc.
4 Receive notifications
Maya will send you an email notification for successful payments and you can also review payment details on Transactions section on Manager Dashboard.
Want to directly integrate with Maya Checkout?
If you are looking to integrate Maya directly onto your website, you may explore the Maya Checkout.
Updated over 2 years ago
