Overview
Use the Pay with Maya to initiate a one-time payment using the customer’s Maya Wallet.
Leverage Pay with Maya to perform the following:
- Accept Maya wallet payments via Maya login.
- Enable scan-to-pay using the Maya QRPh.
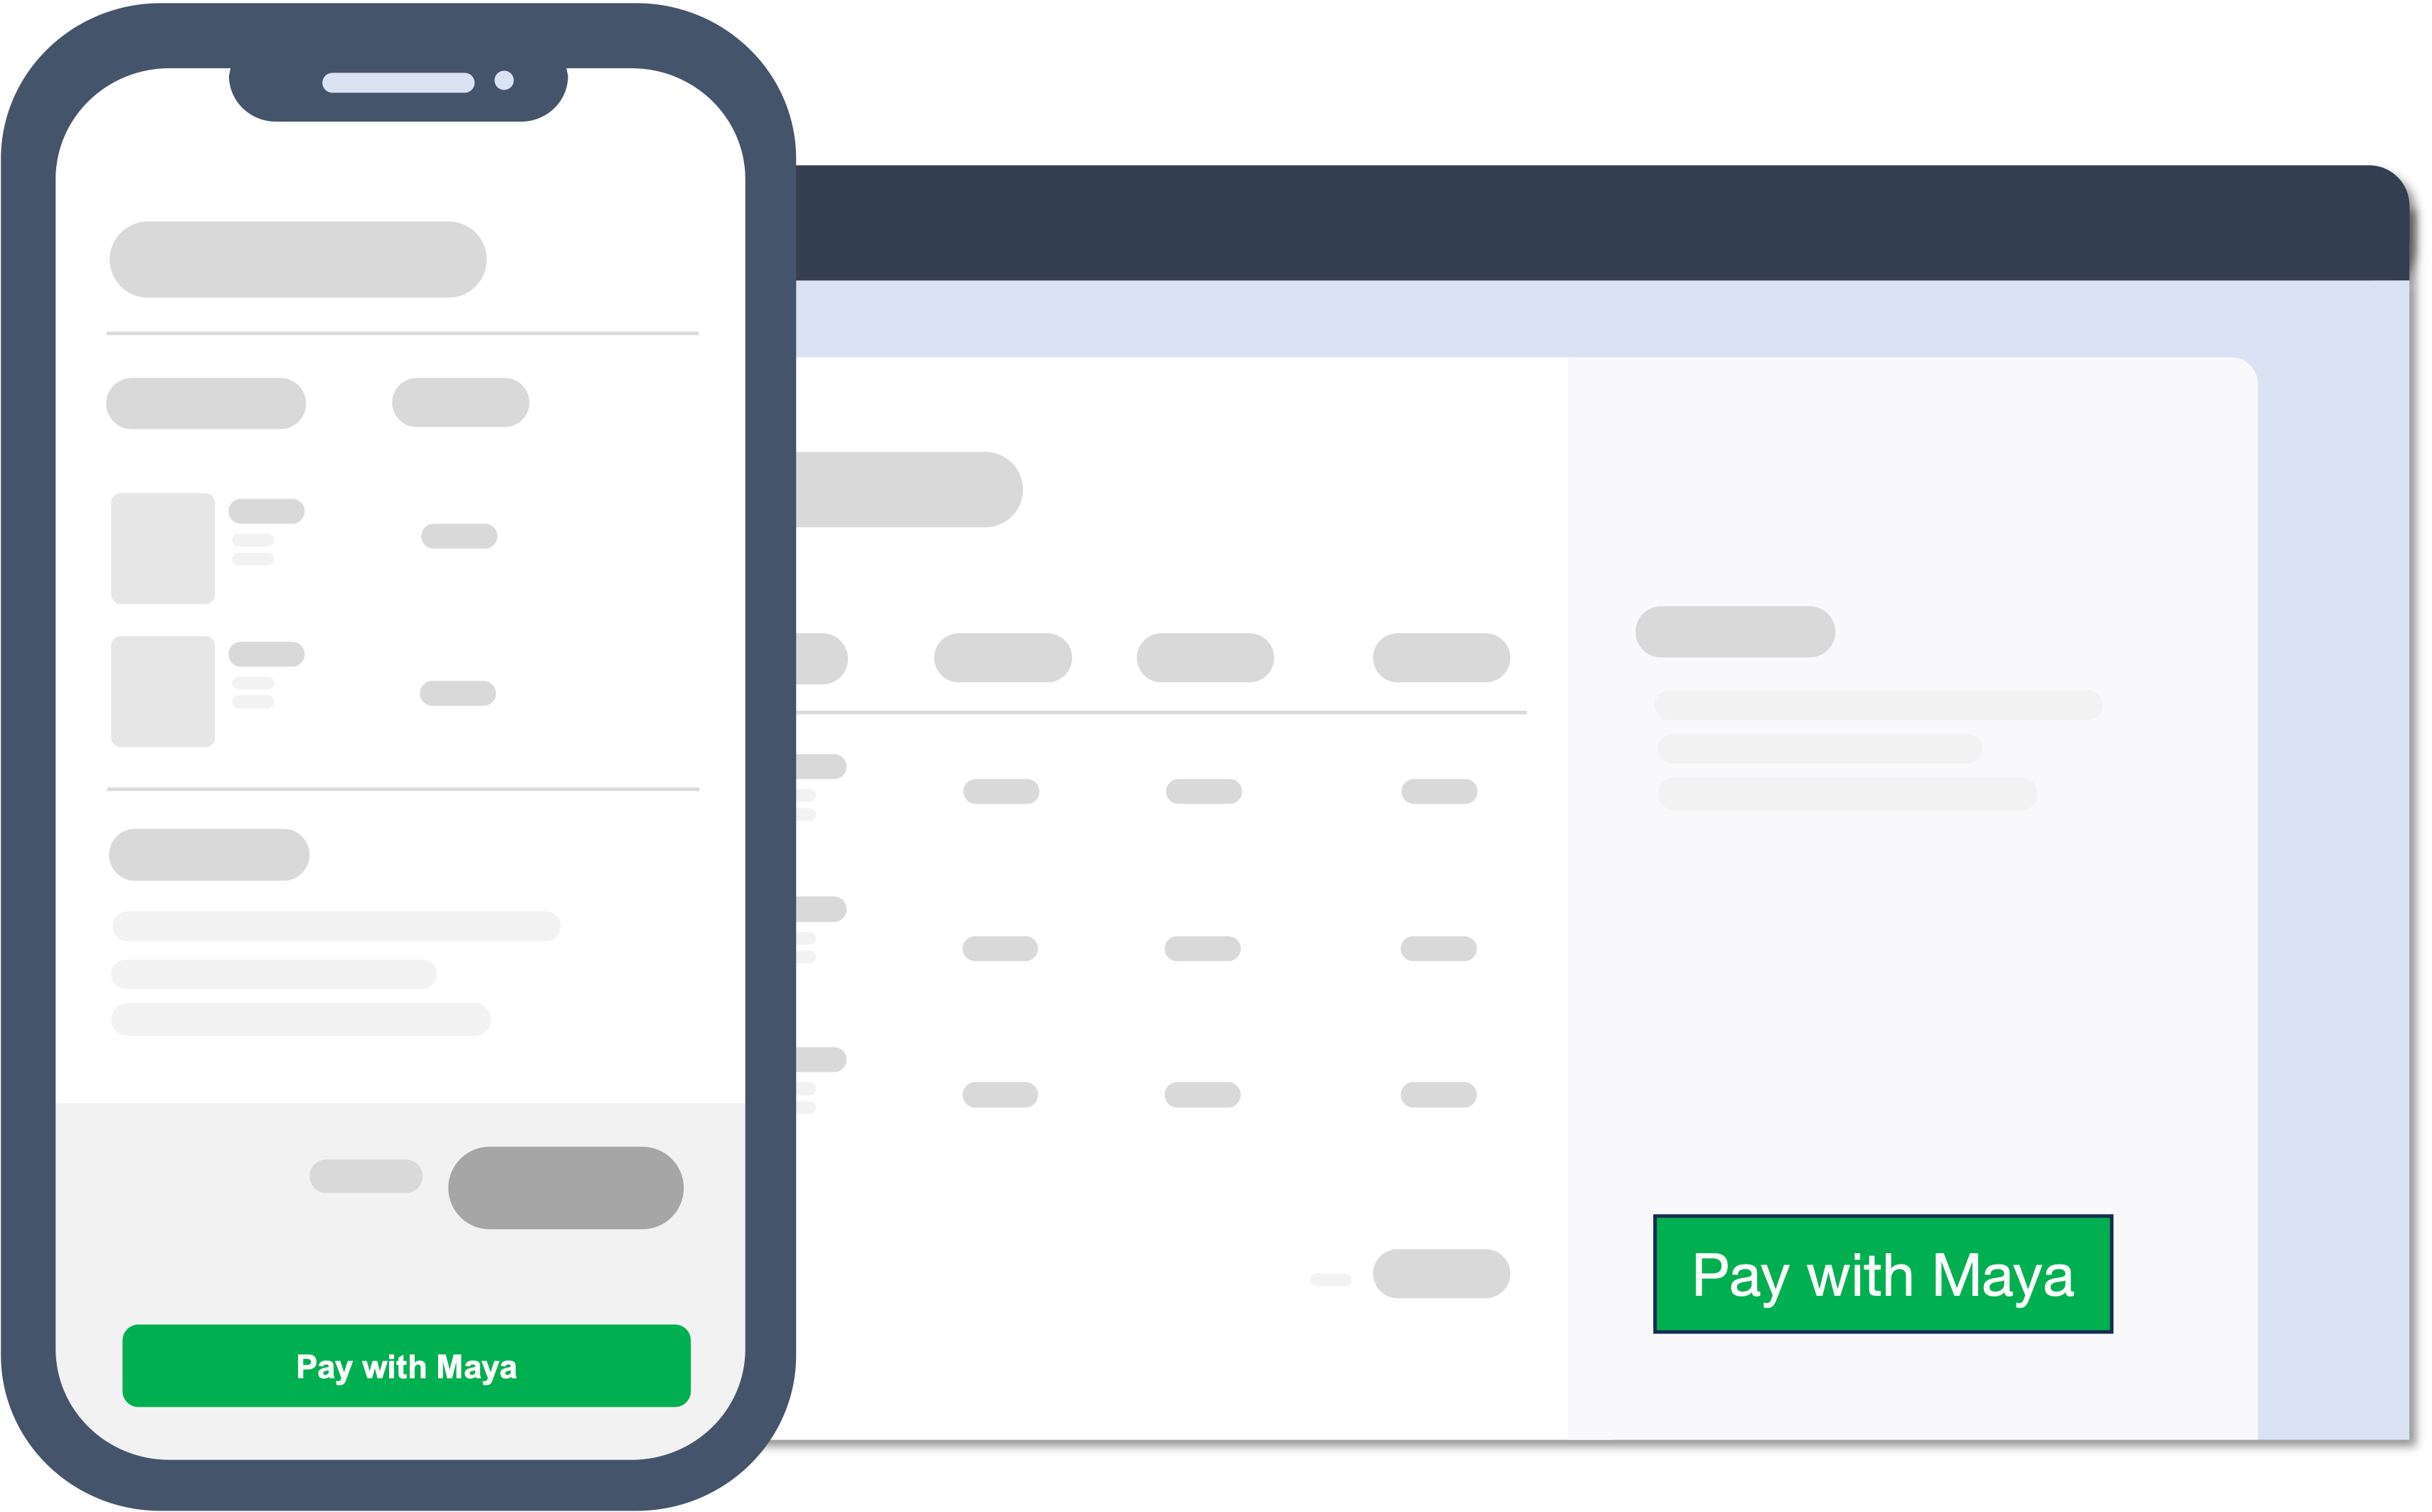
Mobile customers are directed to the Maya login page, while Web customers are directed to a Maya page to log in or scan the QRPh code.
API Sequence
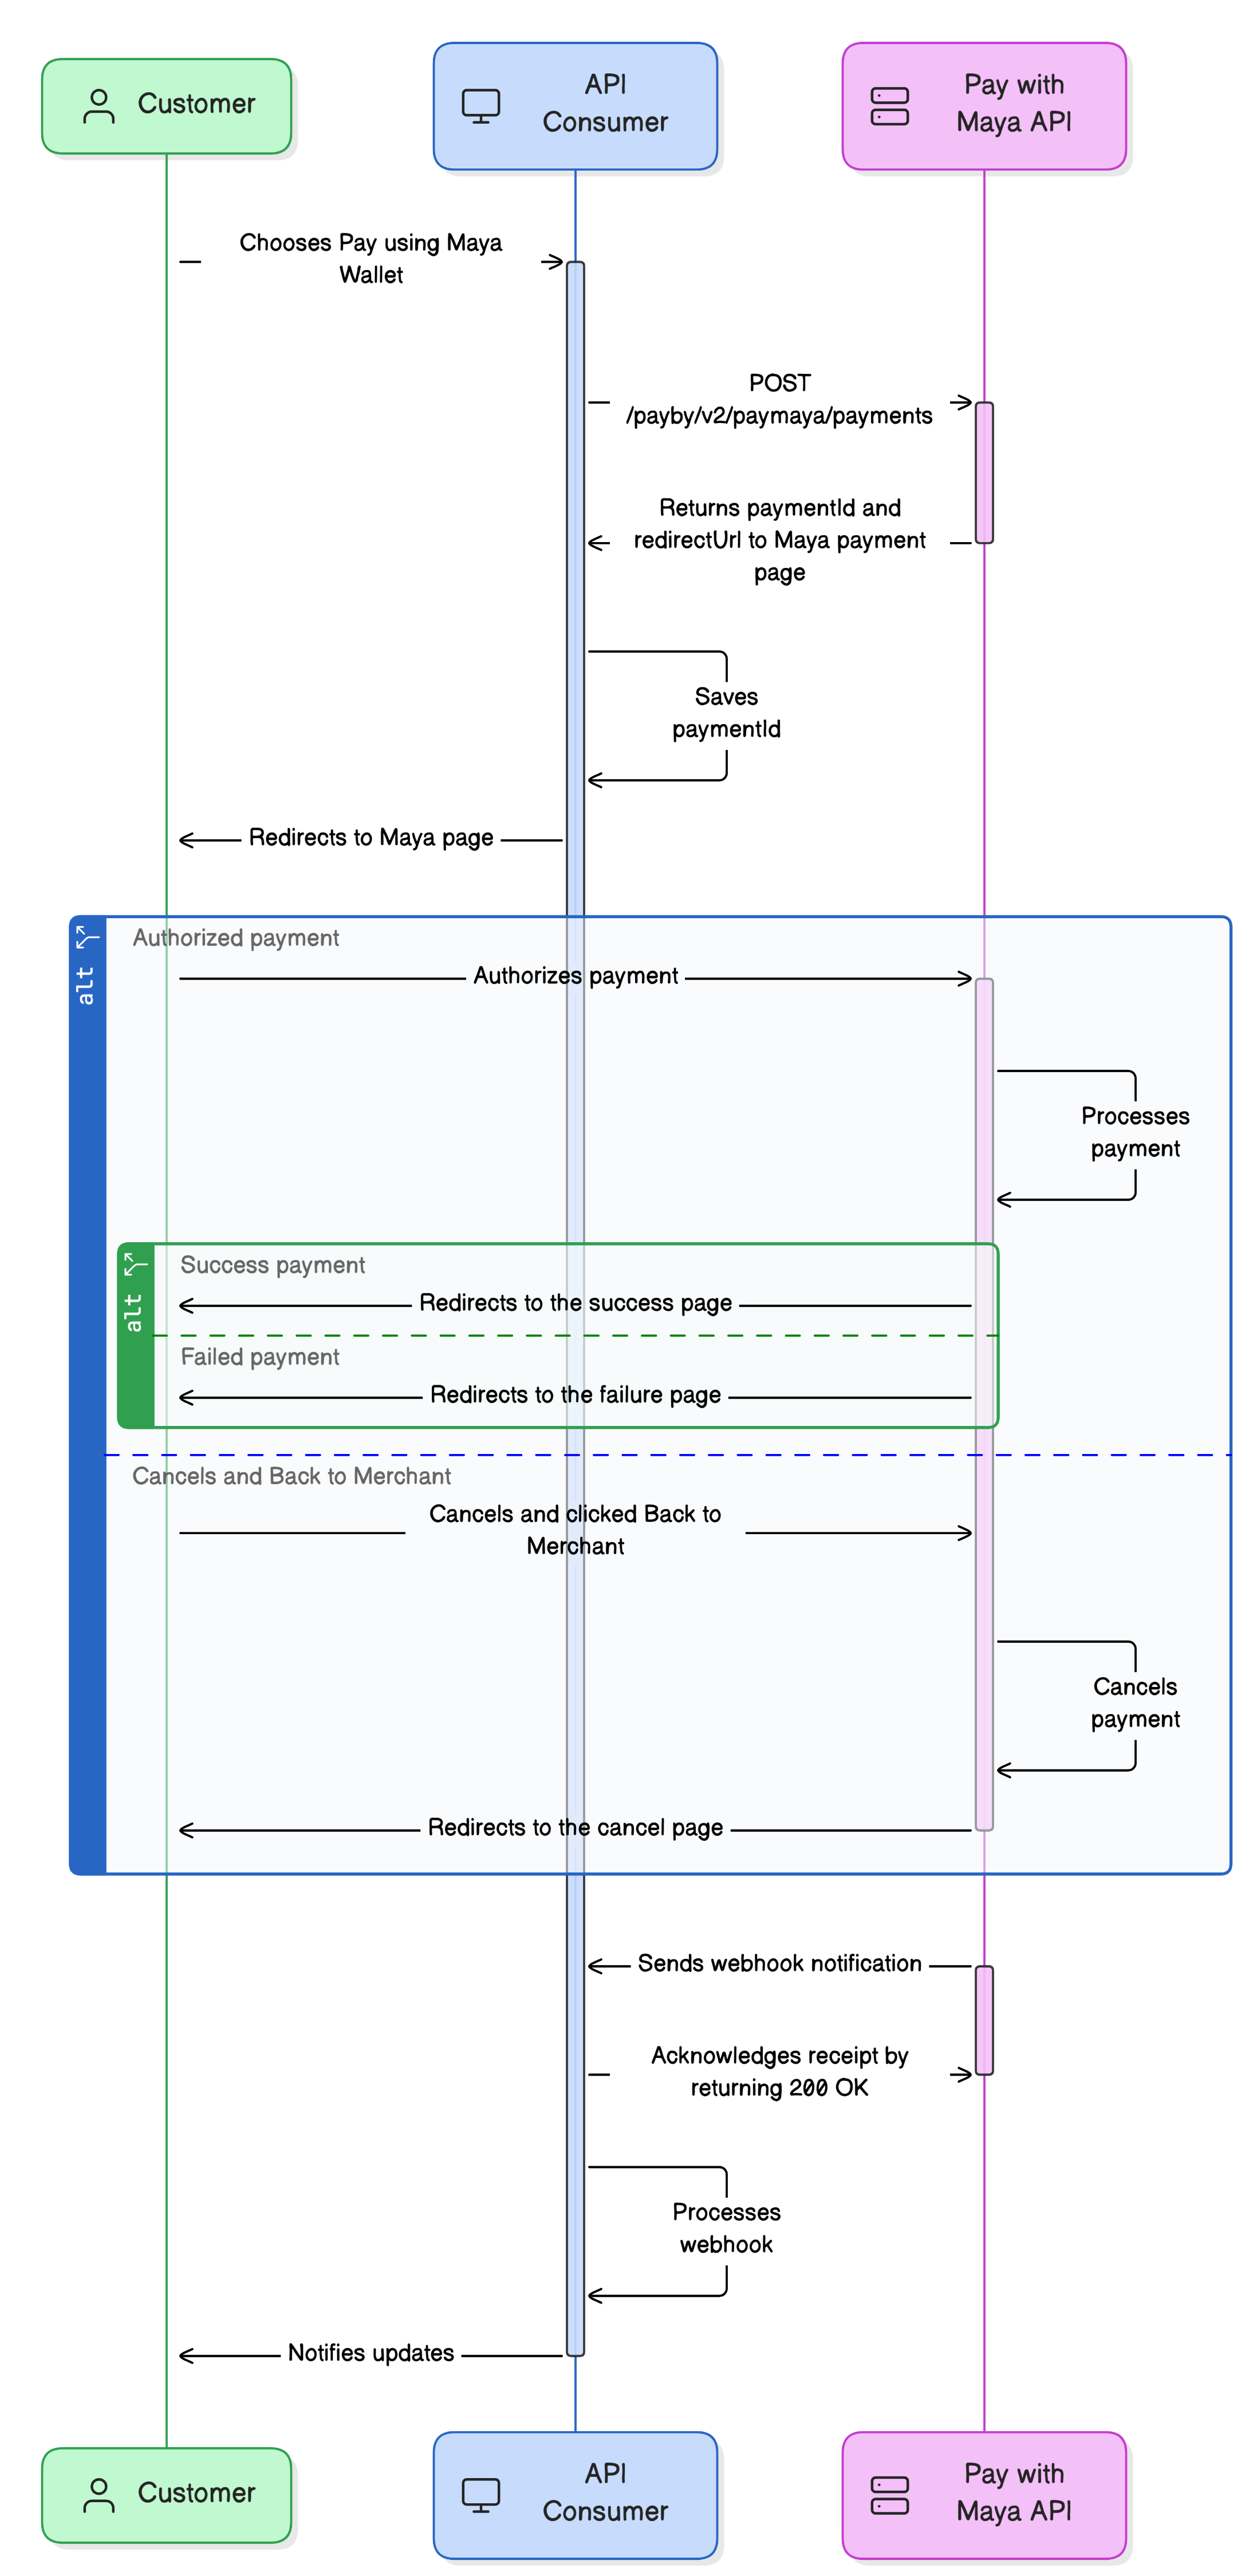
Learn the API sequence and transaction flow of One-Time Payment using Maya Wallet.
- The customer chooses to pay using Maya in the API Consumer’s application.
- The API Consumer calls the Create Single Payment
endpoint of Pay with Maya API.
- Pay with Maya API responds with an
paymentIdandredirectUrlto the API Consumer. - The API consumer saves the
paymentId. - The API Consumer uses the
redirectUrlto redirect the customer to Pay with Maya’s page. - The customer either logs in to their Maya account or scans the generated QRP using the Maya App to authorize the transaction.
- Upon initiating the payment:
- If the payment was authorized:
- Pay with Maya API will proceed in processing the payment.
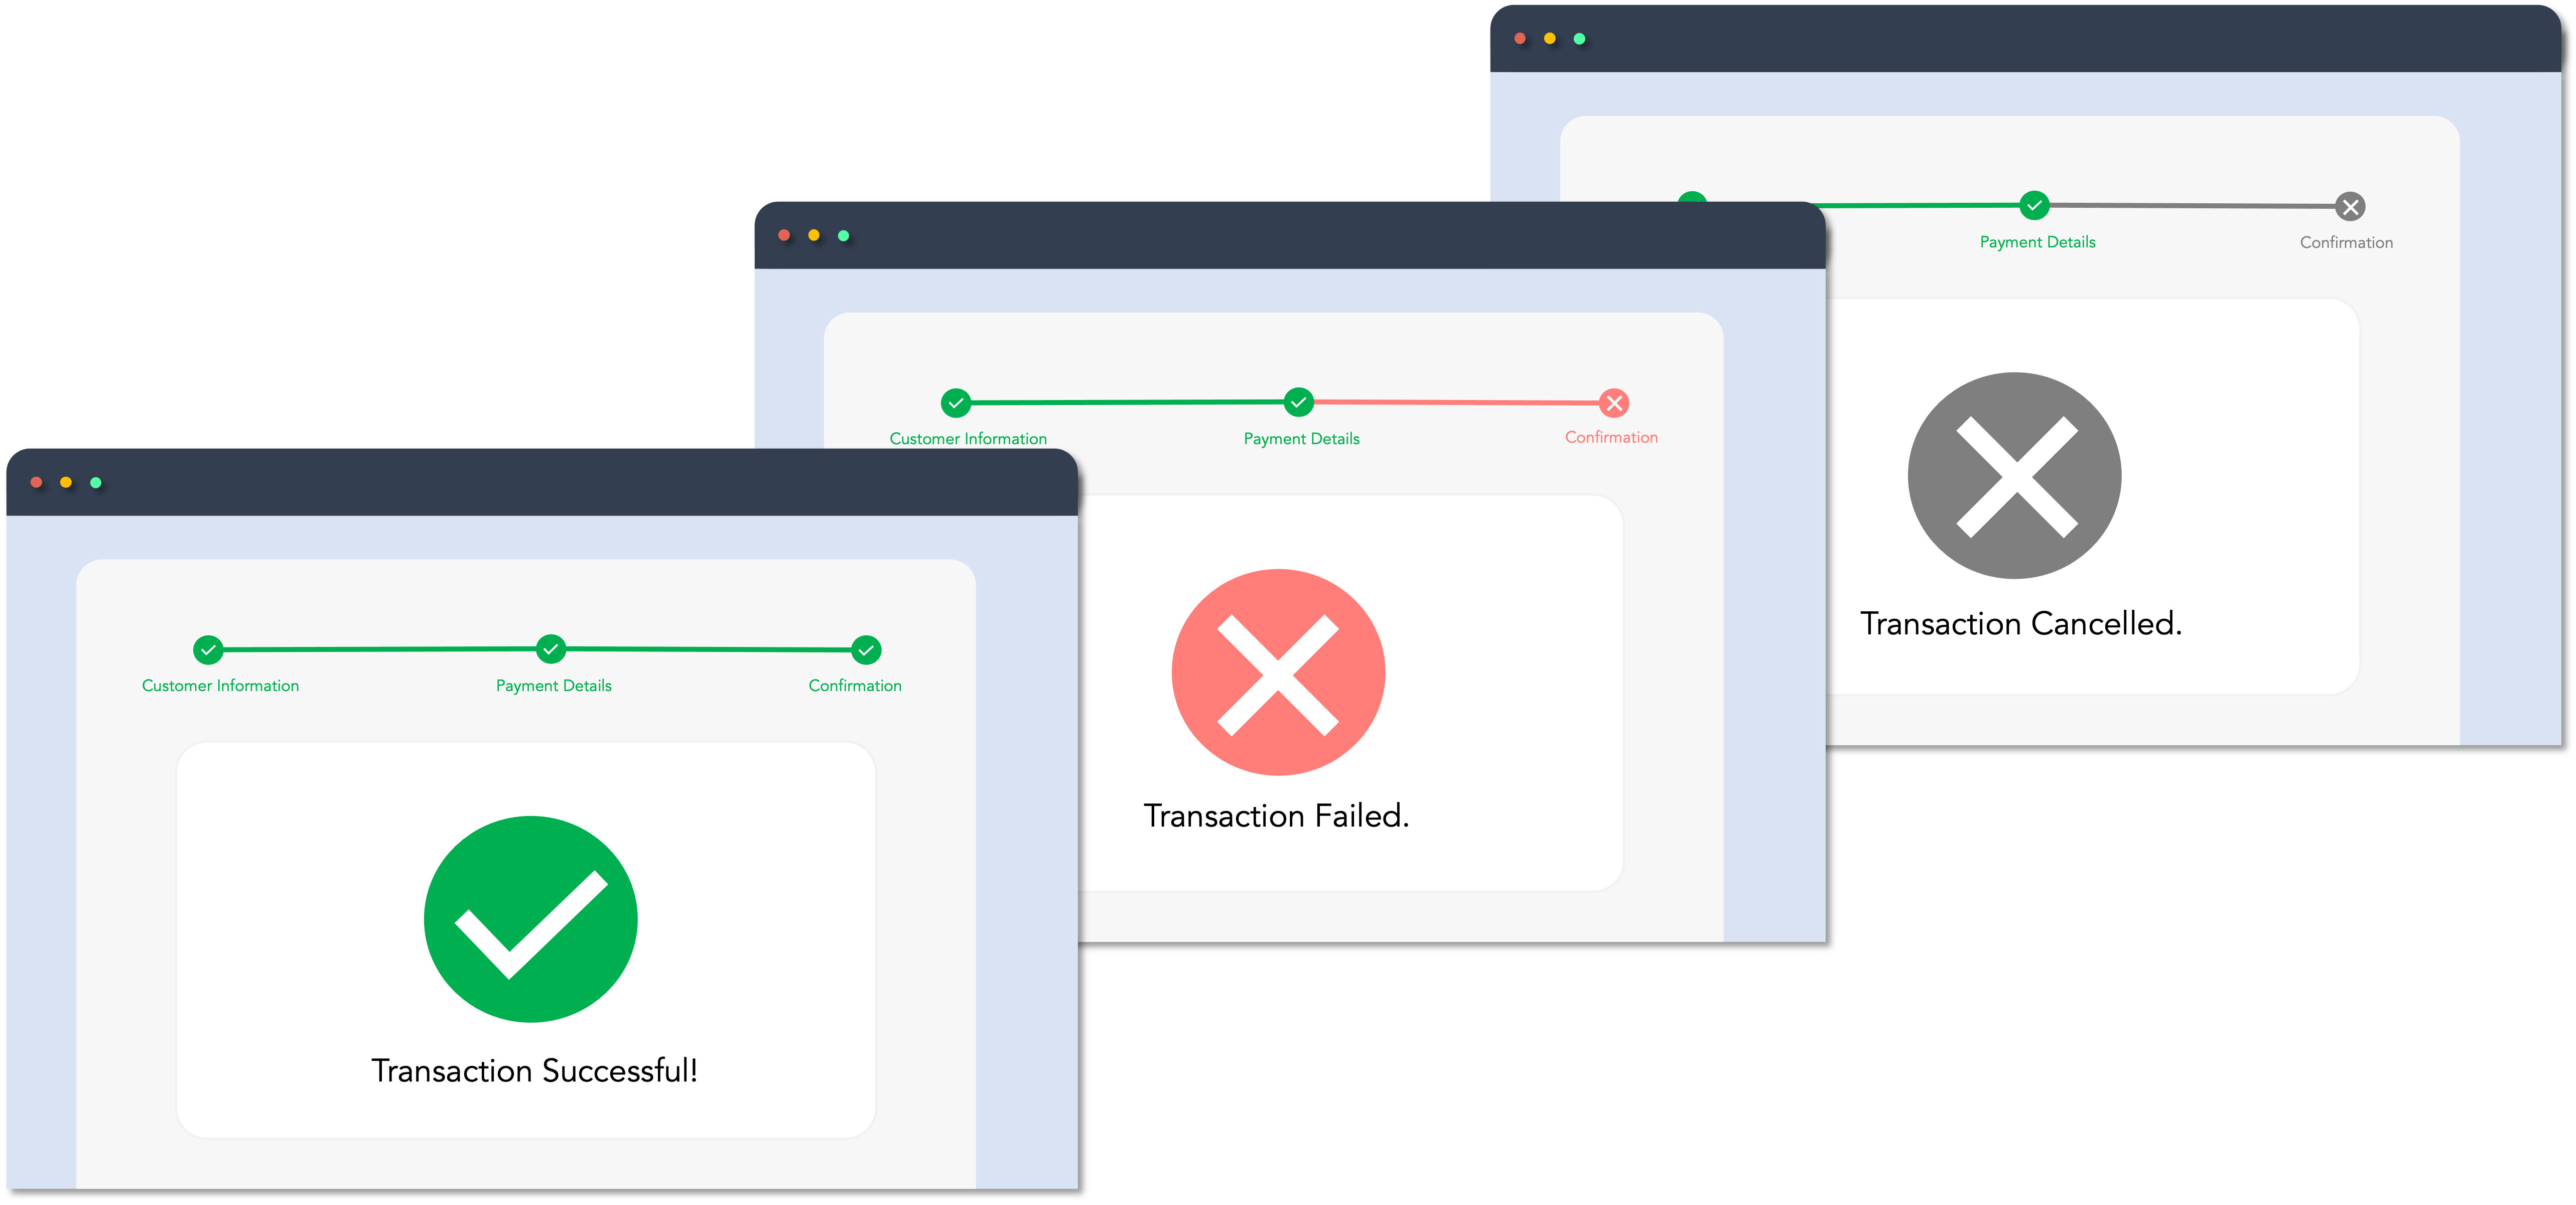
- If the payment succeeds, the customer will be redirected to the API Consumer’s success page.
- If the payment fails, the customer will be redirected to the API Consumer’s failure page.
- If the customer cancels and clicks Back to Merchant:
- Pay with Maya will cancel the payment.
- Pay with Maya will redirect the customer to the API Consumer’s cancel page.
- If the payment was authorized:
- After processing payment, Pay with Maya will send a webhook notification to the API consumer’s webhook endpoint
- The API Consumer acknowledges the receipt of the webhook by responding with
200 OK. - The API Consumer parses and processes the webhook payload received.
- The API Consumer notifies the customer.
Build your Integration
This solution uses Basic Authentication, which requires API keys to authenticate incoming requests. To obtain your API key, please refer to the Generate API Keys for Online Payments guide.
Build the required pages
Add a button to your application. Design and host your response web pages.
1. Add a 'Pay with Maya' button to your application
Create a Pay with Maya button on your application or website that will allow customers to trigger the payment.

2. Create your Response pages
Every payment state should show an appropriate web page for the customer to know the status of their transaction. You need to host these pages on your website.
Created URLs will be used in the redirectUrl object on the Create Single Payment transaction request defining where the customer will be redirected when processing the transaction.

If the customer closes the browser, Maya cannot redirect them to your success or failure pages. To ensure a complete and seamless system experience, implement webhooks .
Initiate Payment
Handle the ‘Pay with Maya’ button event to trigger a single payment.
Step 1: Create Single Payment
Handle the button event in your website to trigger the Create Single Payment endpoint. This endpoint will return a
paymentId and redirectUrl.
When calling this endpoint, your system must define the redirectUrl – URL of the page where your customer will be redirected based on the payment status.
Step 2: Redirect the Customer to the Maya-hosted page
User authorization is required before processing the payment request. To get the user authorization and to proceed with the payment, redirect the user to the Maya-hosted payment page using the redirectUrl received in Step 1.
Monitor Real-time Transaction Events
Monitor and receive transaction updates.
Maya uses webhooks to keep your application informed about critical events related to your payment requests. These notifications include updates on payment status (e.g., success, failure, cancellation) along with relevant response codes. Webhooks allow you to react to real-time events and automate transaction handling within your system.
To help you get started, refer to the following resources:
If your application does not receive a webhook notification—for example, due to network issues or configuration errors—you can fall back on the following retrieval endpoints to check the transaction status manually:
Endpoints
The following are the Pay with Maya endpoints for the One-time Payment using Maya Wallet.
| Name | HTTP Method | Key Type | Endpoint | Description |
|---|---|---|---|---|
| Create Single Payment | POST | PUBLIC | /payby/v2/paymaya/payments | Creates a single payment transaction using a Maya account. |
Managing Payment Transactions
| Name | HTTP Method | Key Type | Endpoint | Description |
|---|---|---|---|---|
| Retrieve Payment via ID | GET | SECRET | /payments/v1/payments/{paymentId} | Retrieve the transaction information by providing the paymentId. The resulting response will be an array of the payment information.`. |
| Retrieve Payment via RRN | GET | SECRET | /payments/v1/payment-rrns/{rrn} | Retrieve the transaction information by providing the merchant’s request reference number. Functionality is similar to Retrieve Payment via ID, but instead of the paymentID, rrn is used. |
| Retrieve Payment Status | GET | PUBLIC | /payments/v1/payments/{paymentId}/status | By providing the paymentId, use this API to get the payment status. |
| Cancel Payment via ID | POST | SECRET | /payments/v1/payments/{paymentId}/cancel | This API is used to cancel a payment transaction by providing the paymentId; before it can be authenticated and card payment is made. |
Business Rules to Code
To supplement your knowledge of the integration, it is essential to familiarize the Business Rules to Code for Online Payments . This ensures that technology requirements and other development considerations are met.
At this point, you have understood the following:
- The necessary APIs and their endpoints
- The sequence and purpose of each API
- The prerequisites for building your integration
Is deeplink going to the Maya App supported?
Answer: Pay with Maya's deeplink feature to the Maya App is temporarily disabled. Customers are now redirected to the web-based payment page of Maya to complete their payment transactions.
My transaction in Sandbox keeps failing. How can I fix this?
Answer: First, ensure your code is implemented correctly by reviewing the required steps. If your setup is correct but errors persist, check the Sandbox Health Page to verify if the service is operational. If the service is up, retrieve the error code and use the search box in the Maya Developer Hub to find relevant guides on resolving it.
Getting timeouts when connecting to the Sandbox of Maya. How can we resolve this?
Answer: If you're encountering timeouts in the Sandbox, first check the Sandbox Health Page to see if the service is operational. If the service is up but the issue persists, visit our Support Page
for the appropriate channel to escalate your concern.

