
Maya Checkout
Overview
Maya Checkout simplifies the online checkout experience by providing multiple payment options and secure digital payments to your customers.
Please note that 3DS Authentication will be applied depending on the card's issuing bank.
Experience Maya Checkout on our demo website and test how it works using the Sandbox Credentials and Cards
.
Key Features
- Variety of Payment Options: Maya Checkout provides customers with multiple payment methods, enhancing convenience and customer satisfaction.
- Simplified Payment Processing: Utilize Maya’s ready-built payment form to provide a secure and efficient payment experience to customers.
Example User Journeys
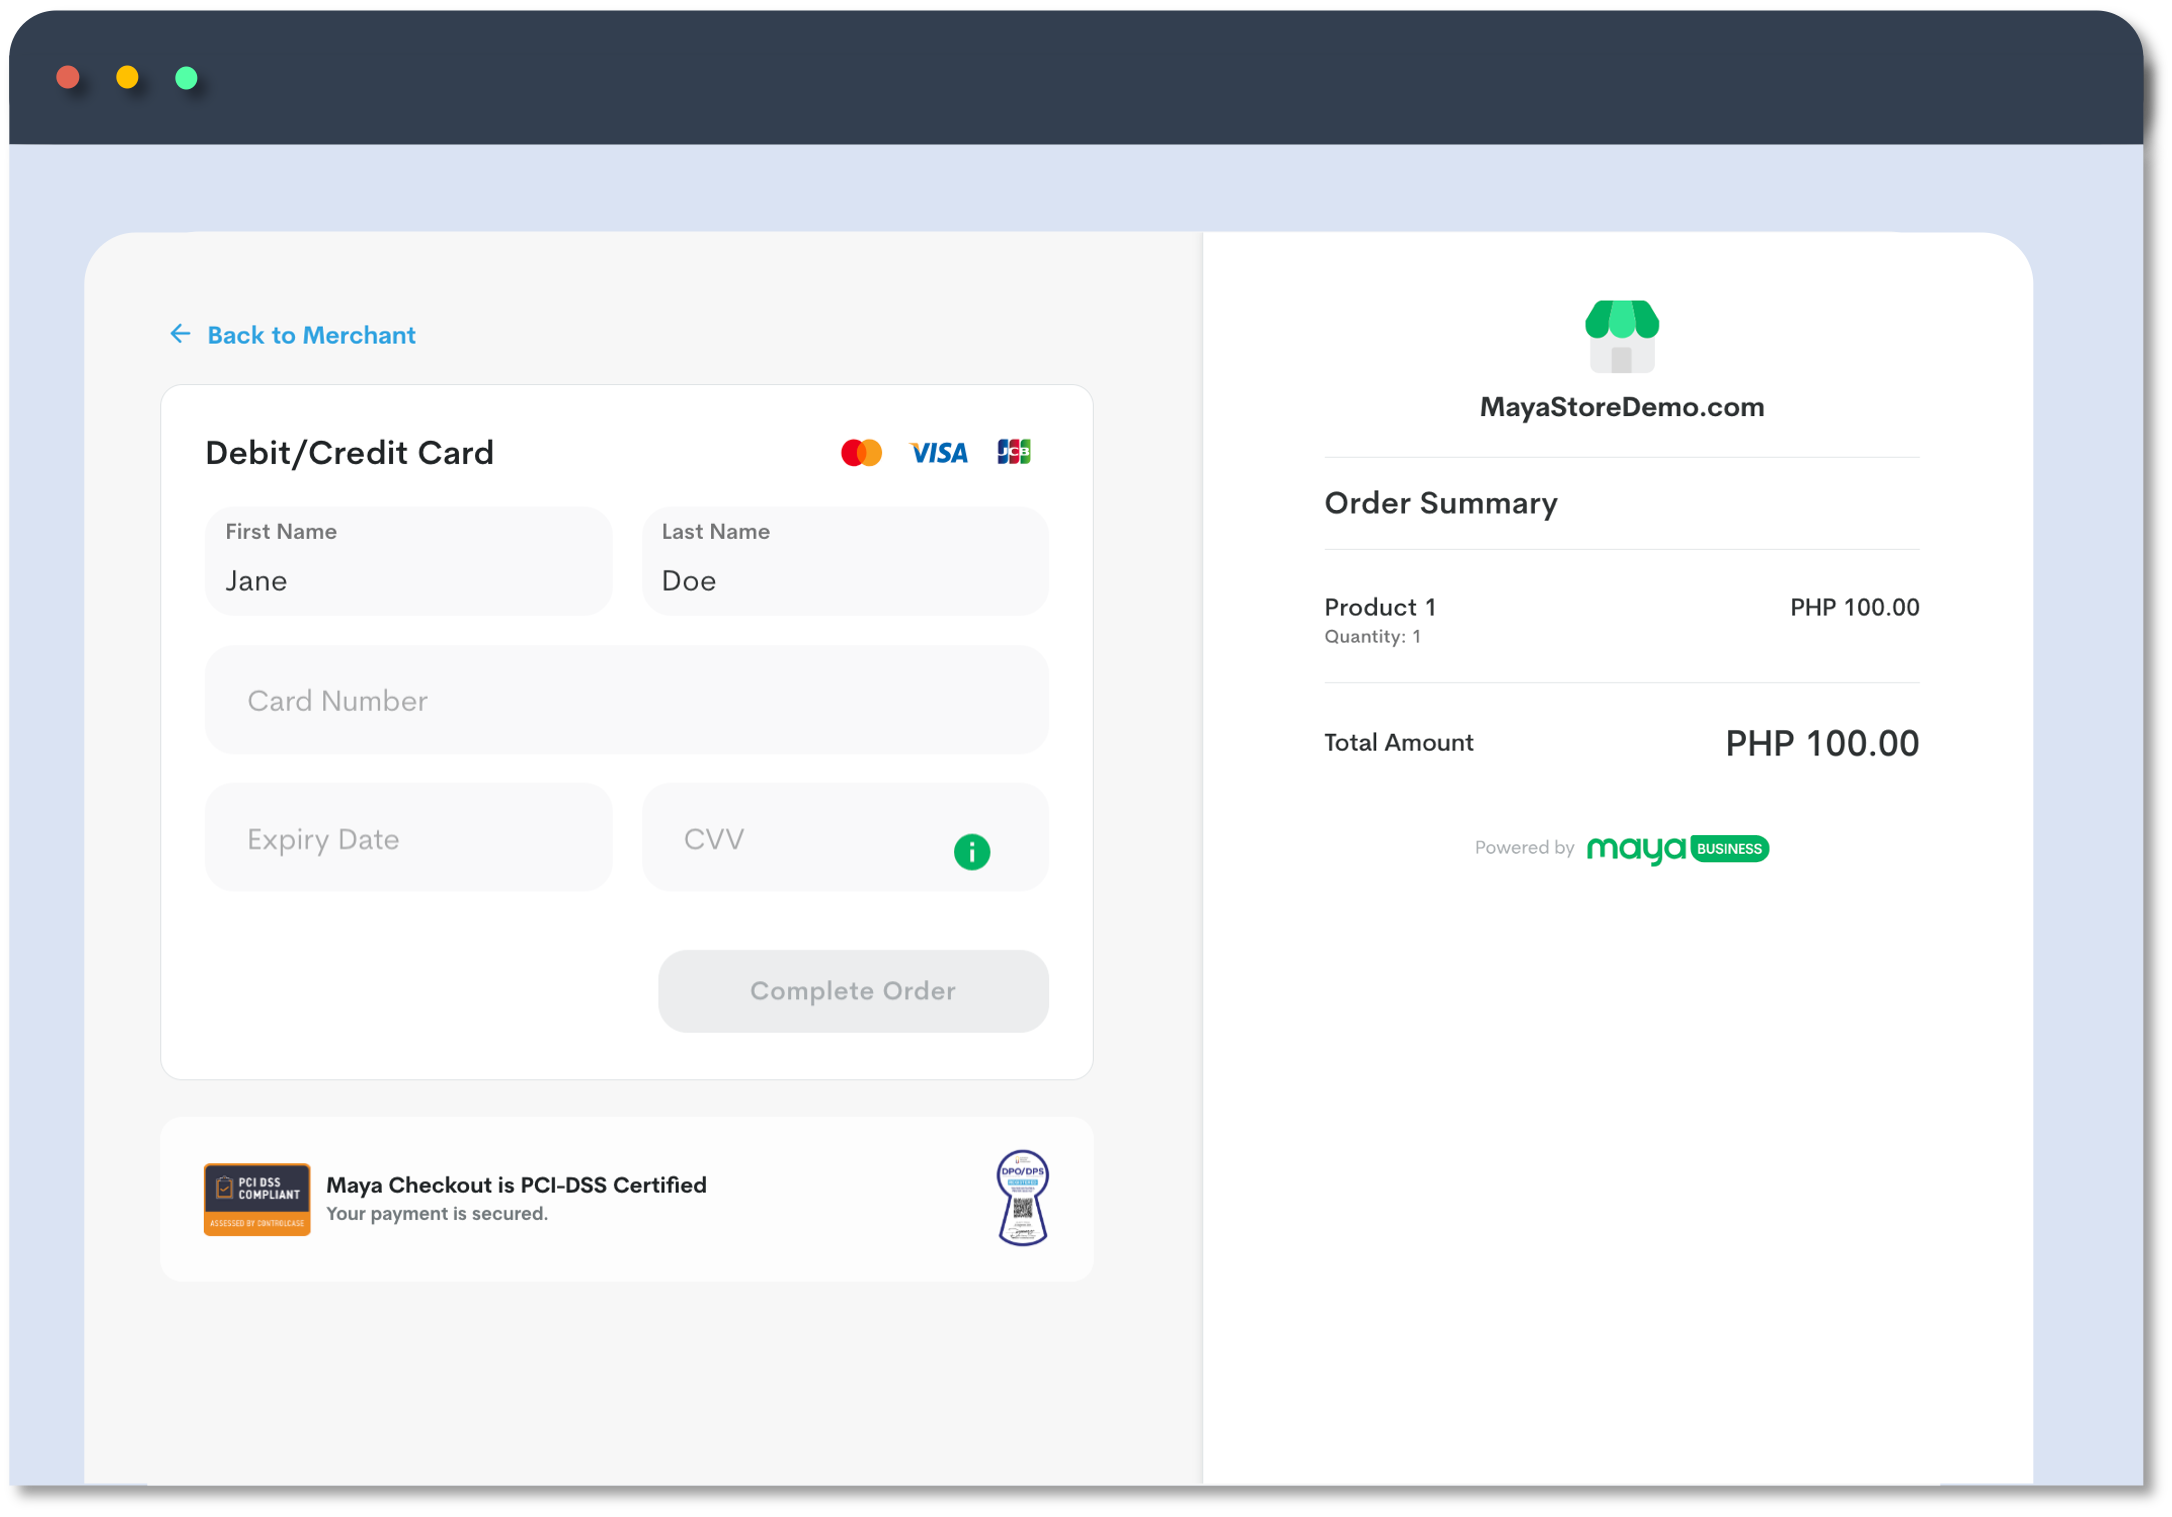
Card Acceptance
Let your customers make straight card payments for their online purchases.
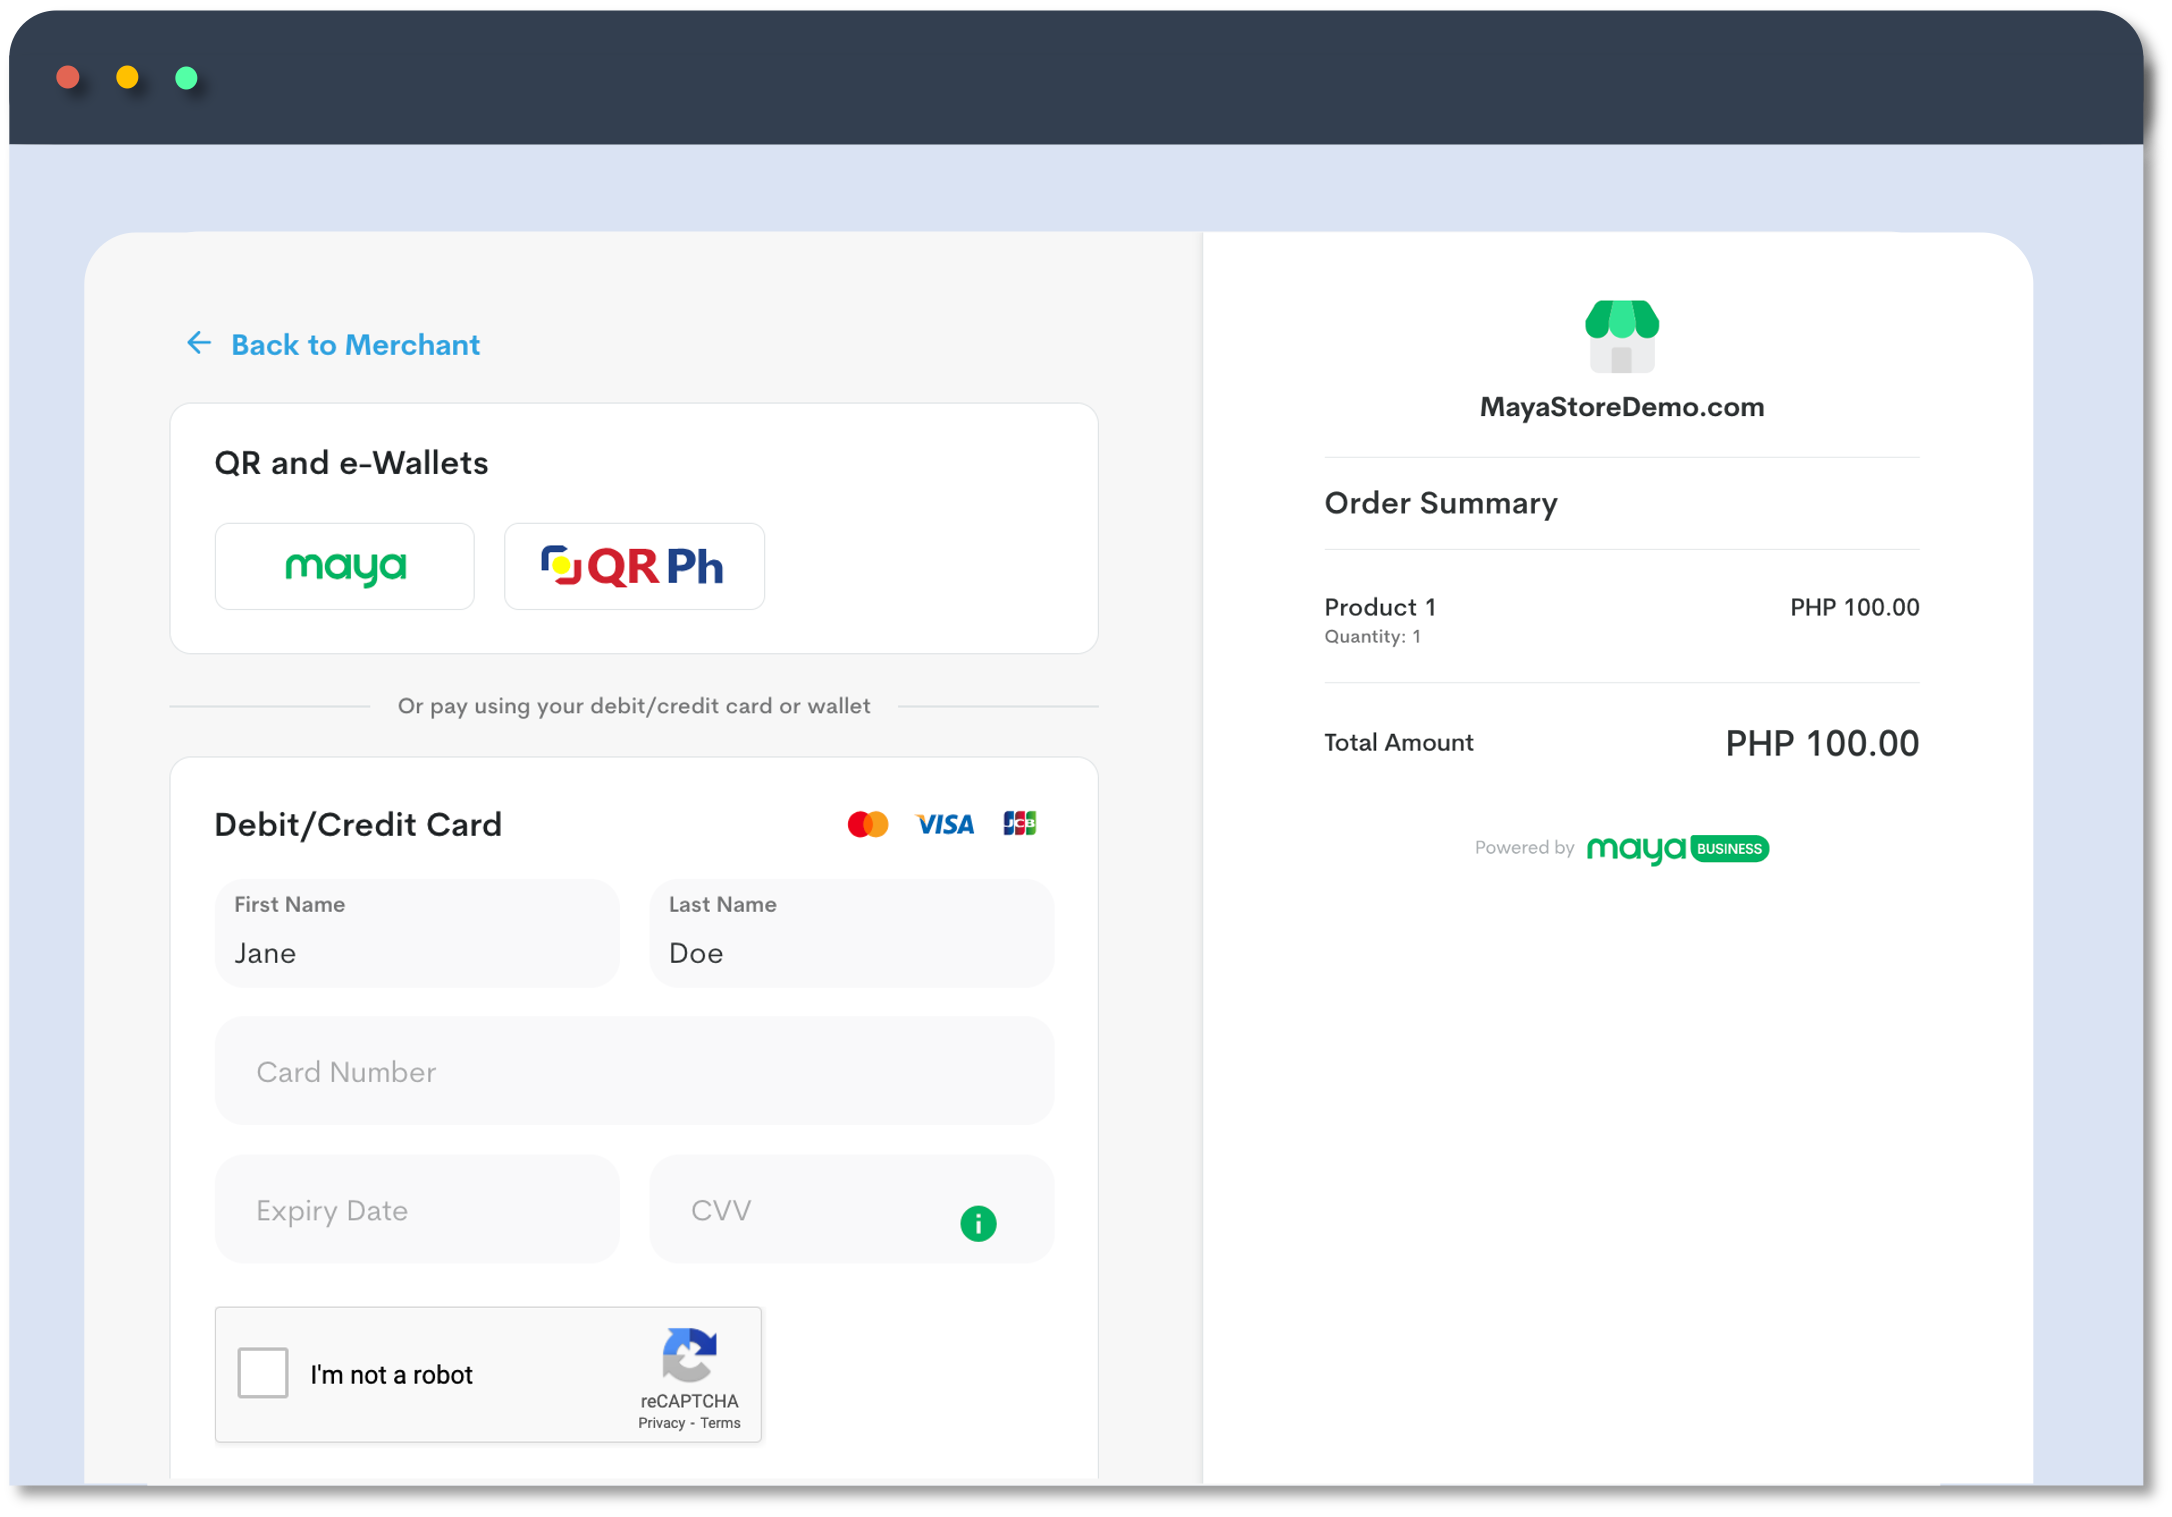
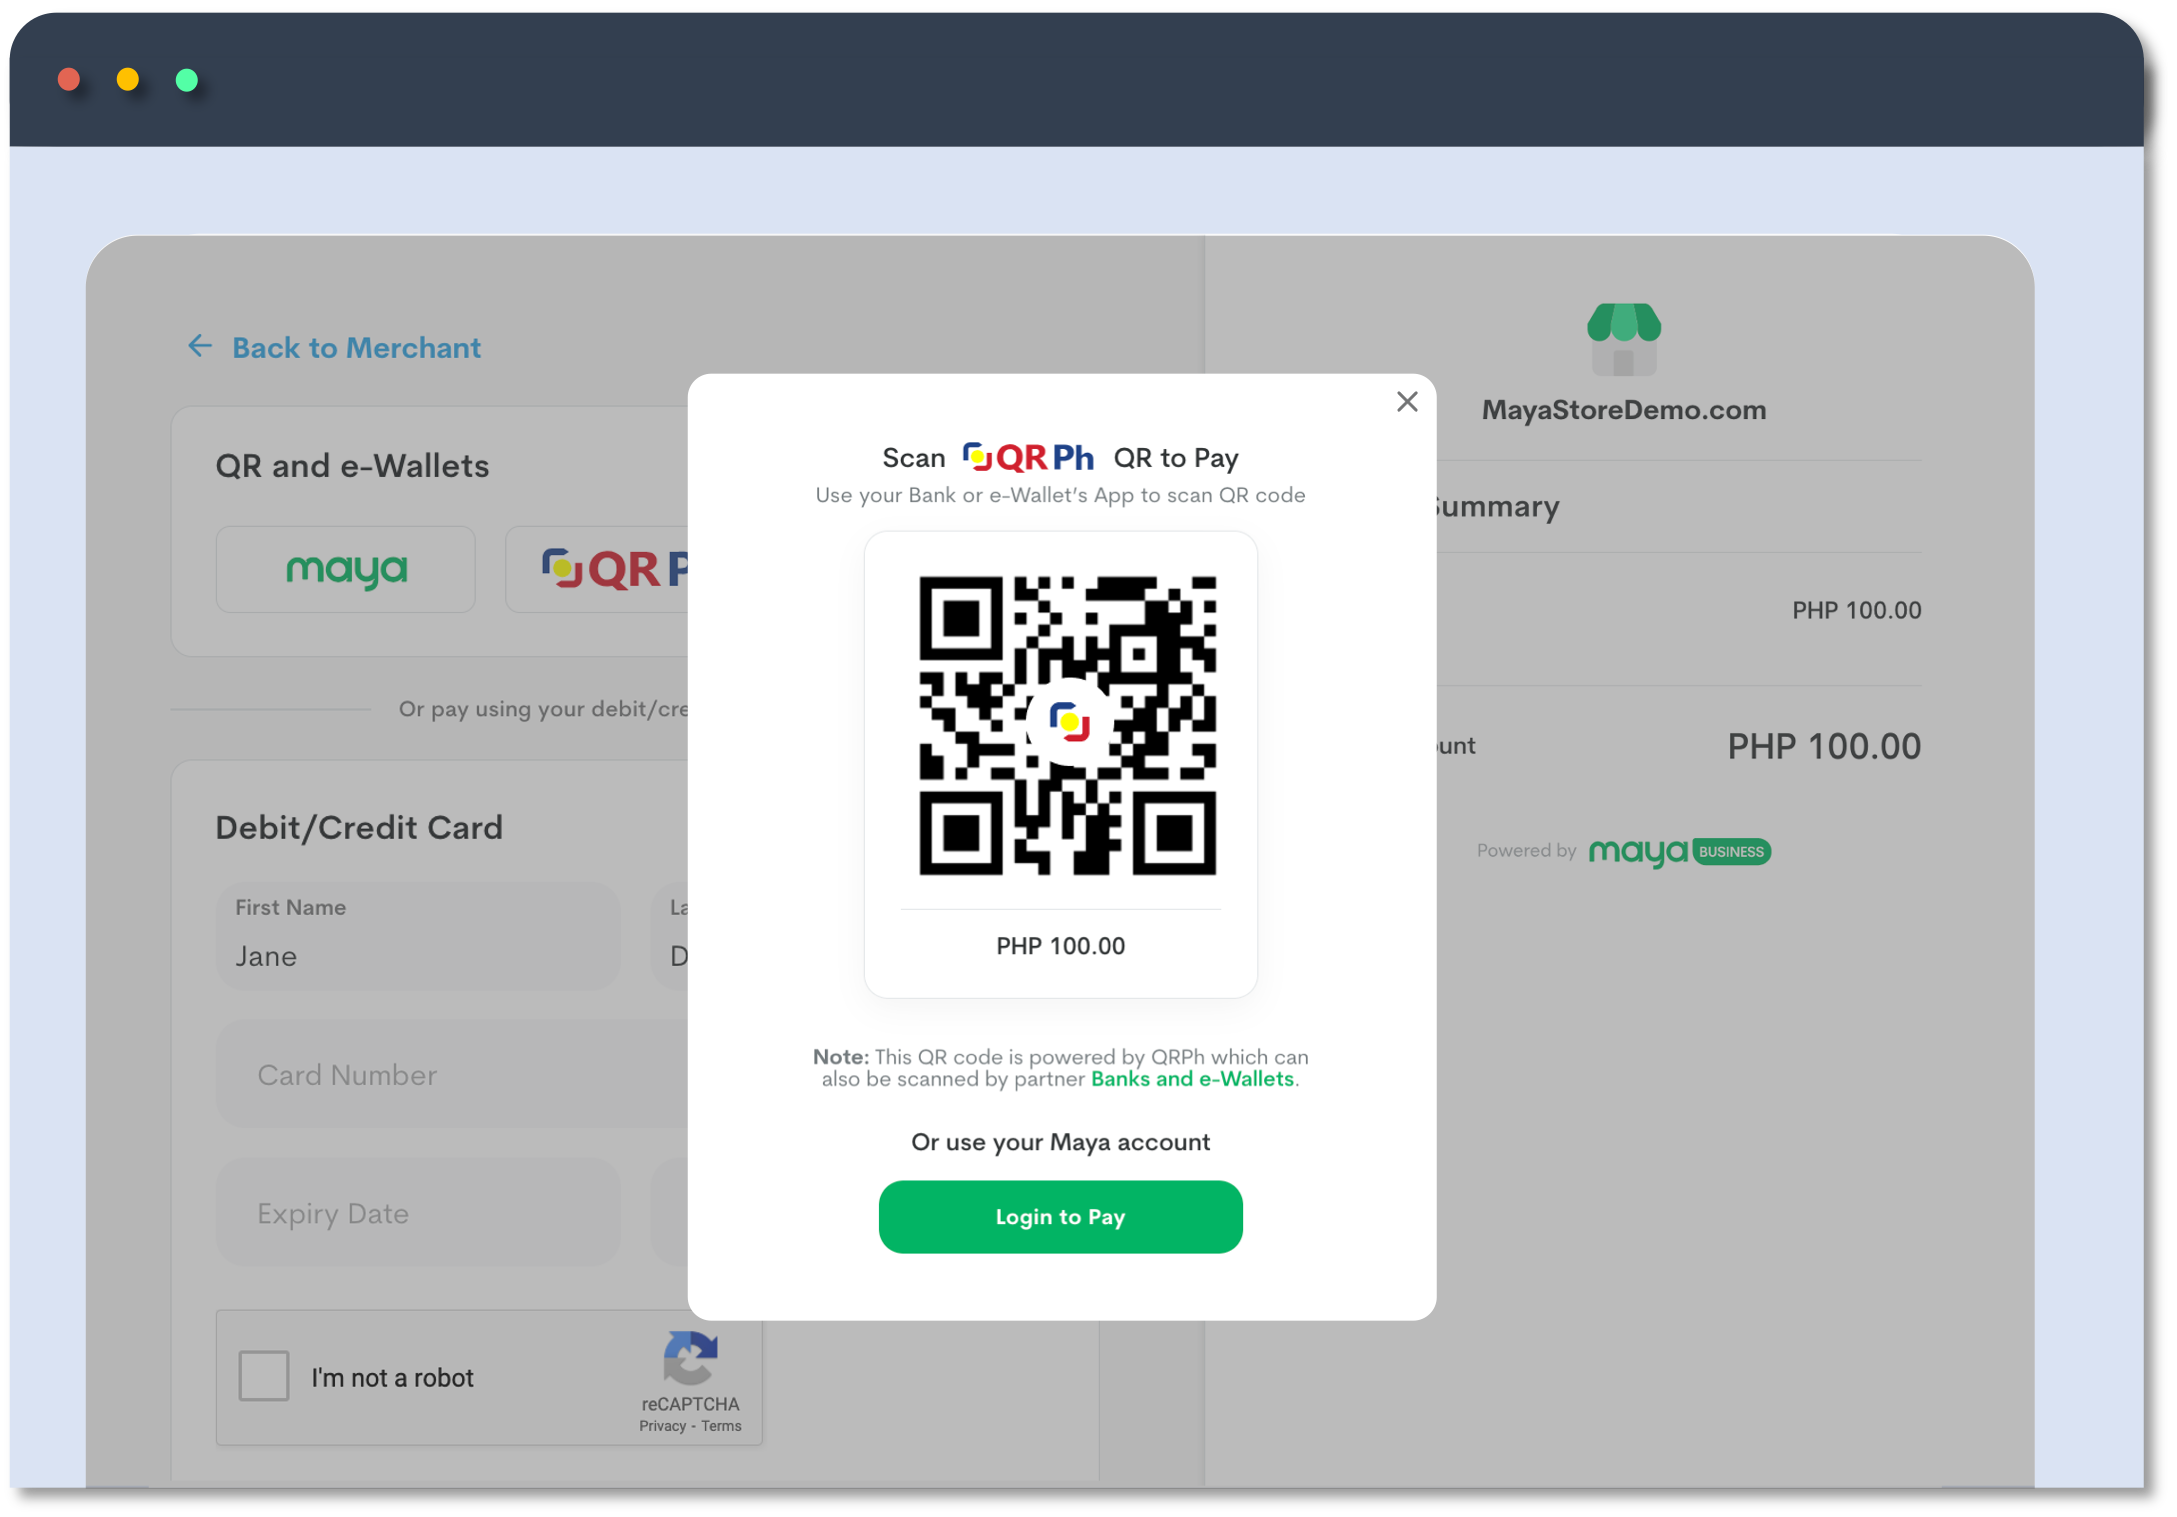
E-Wallet and QRPH
Let your customers use their e-wallets to pay or generate and present QRPH.
To enable card acceptance, contact your Maya Relations Manager or email [email protected].
See also: Supported Card Brands .
To enable e-wallet payments and QRPH, contact your Maya Relations Manager or email [email protected]. See also: Supported E-wallets and QR Codes .
The customer enters their card details on Maya’s Checkout page.
The customer completes the 3DS Authentication.
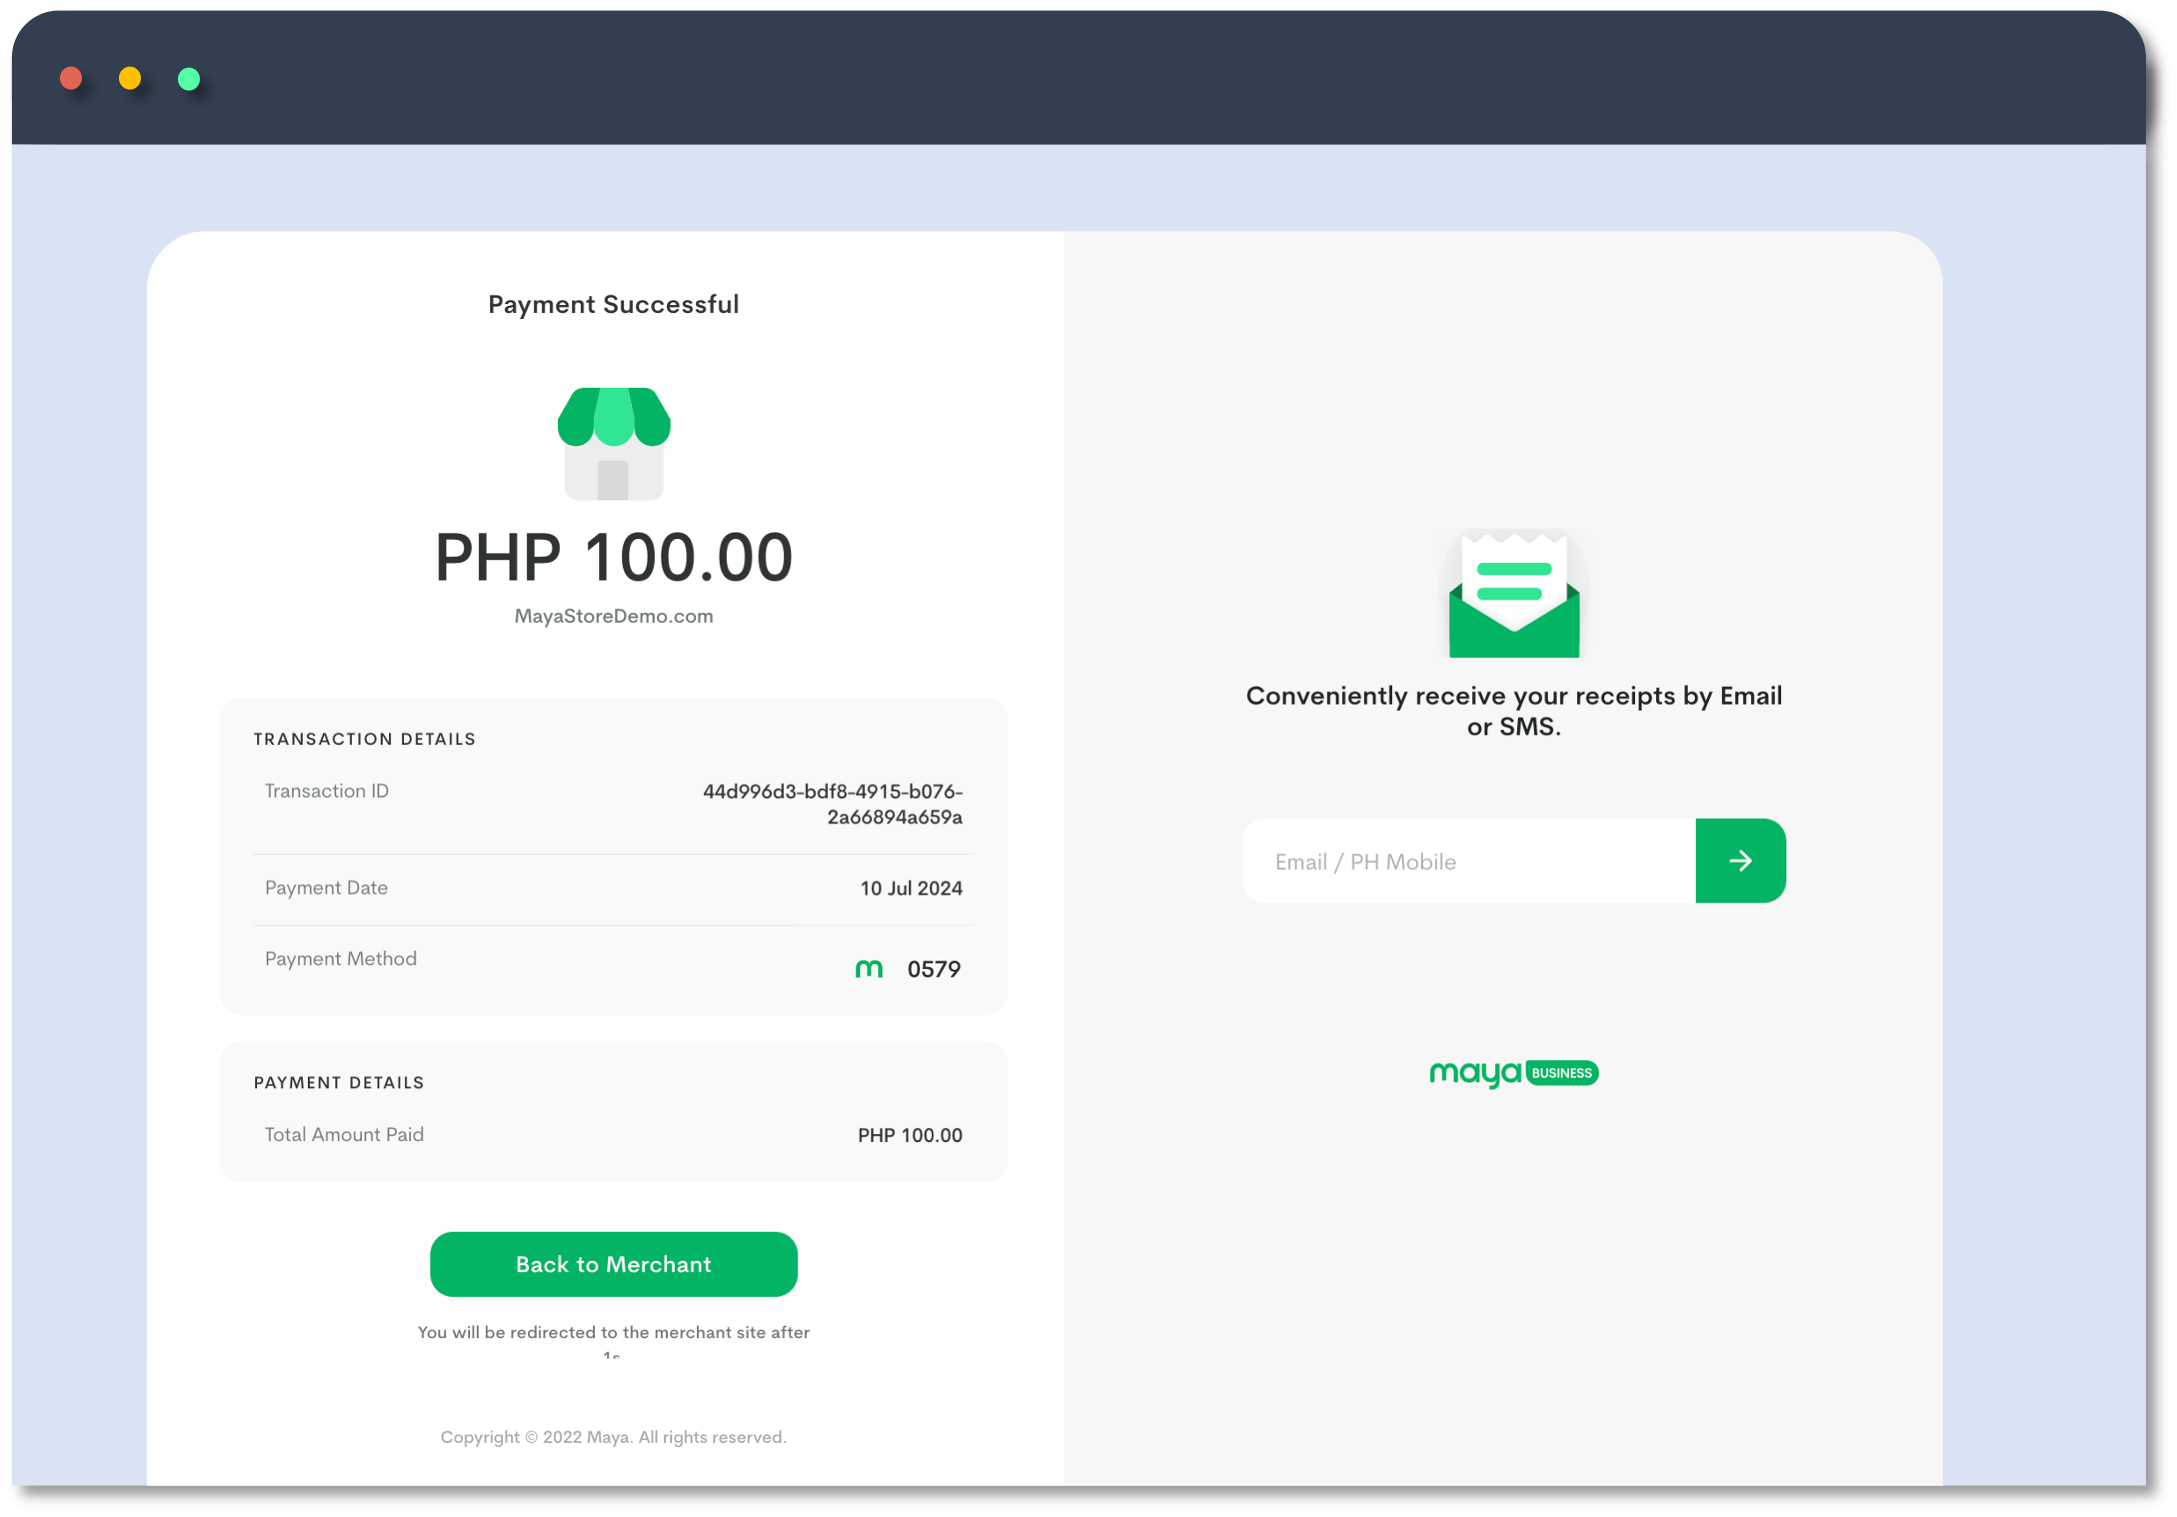
The customer will be presented with the receipt upon successful payment.
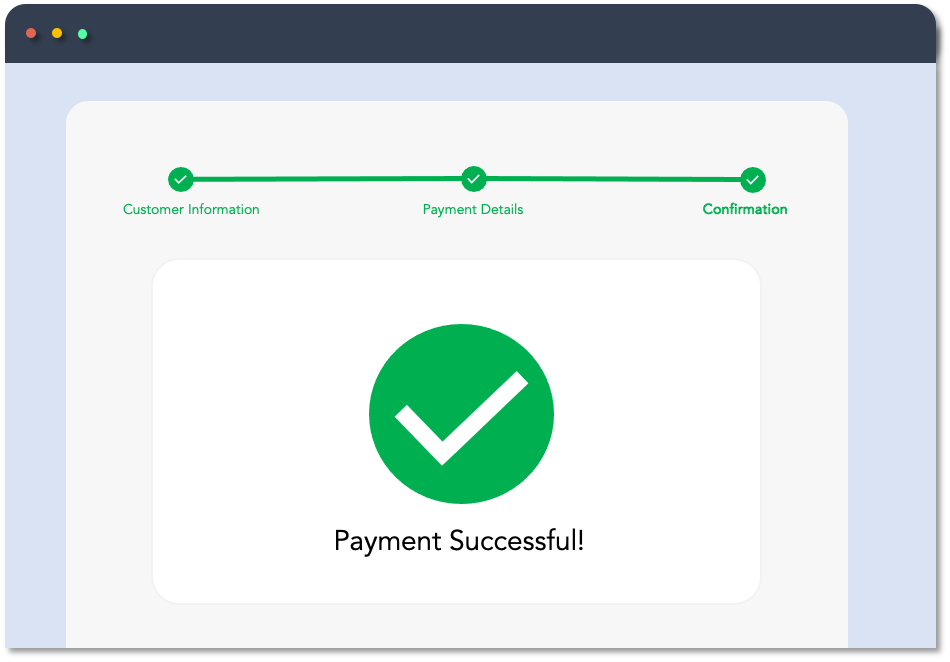
The customer will be redirected to the application's success page.
The customer selects their preferred e-wallet from the options available in Maya’s payment form.
The customer completes the steps to proceed with the payment.
The customer will be presented with the receipt upon successful payment.
The customer will be redirected to the application's success page.
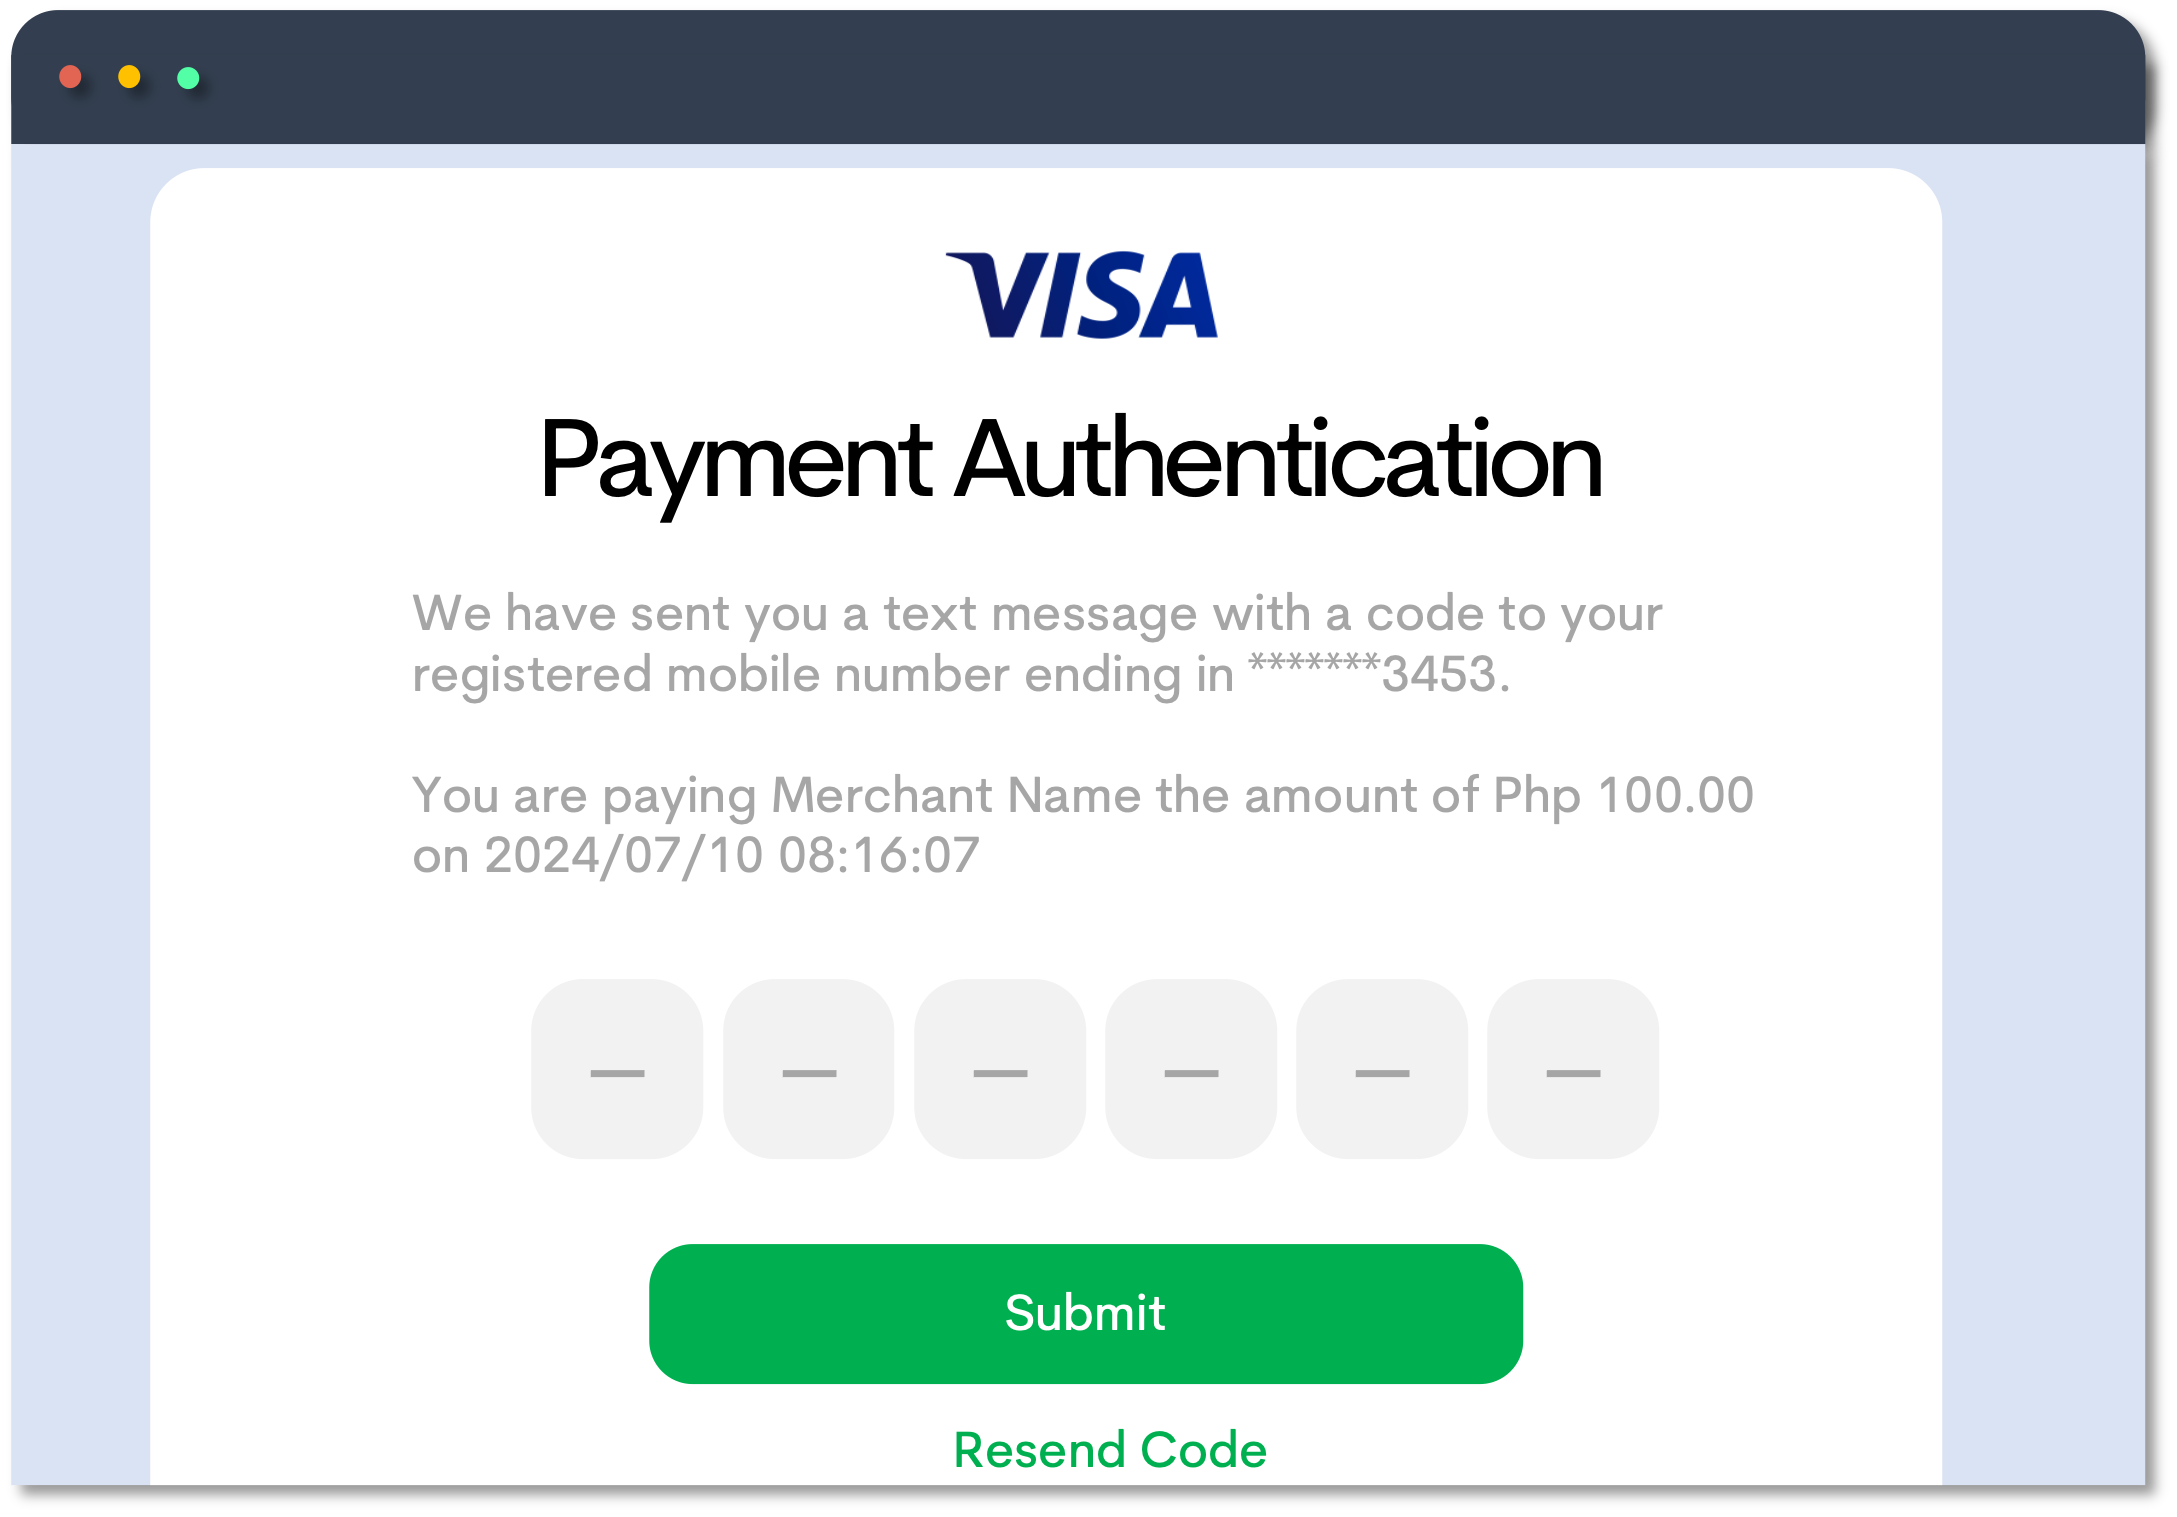
Banks may prompt the user to authenticate the transaction by asking for One-Time Password (OTP) that the user will receive via SMS.

Authorization (Hold) and Capture
Refer to the Authorization (Hold) and Capture guide for detailed information. Note that the guide applies to limited schemes only. For further questions, contact your Maya Relations Manager or email [email protected].
Maya Partner Journey
Contact [email protected] to gain access to Maya’s platform and products. Existing partners can reach out to their dedicated Maya Relationship Manager for assistance.
By completing the steps below, you should be able to begin coding, or you may already have made substantial progress in developing your application or installing Maya's plugins.
Explore Maya Solutions
Maya API Products showcases all of Maya solutions. Explore the solutions and their functionalities to find the ideal for your needs. It includes links to references and guides for you to get started with your development.
Estimated Activities and Timelines
Considering internal complexities like engineering resources, system integrations, and team coordination, the integration with Maya can take anywhere from less than weeks to up to months.
| PHASE | ESTIMATES | TASKS |
|---|---|---|
| Merchant Account creation and Sandbox onboarding | 1 week | Creation of your merchant account begins upon submission of complete documentary requirements. Sandbox access is provided during this phase. |
| Build | 2-4 weeks | Build your application and integration. This may vary depending on your development timelines. |
| Test | 2-3 business days | Complete your end-to-end testing in Sandbox and provide your sign-off to Maya. This may vary depending on your testing activities and timelines. |
| Transition to Production | 1-2 weeks | This is based on Maya's estimated timeline which will only begin once you have completed all sandbox requirements. Access to Production is given during this phase. |
| Go Live | 2-3 business days | You may do pilot testing in Production or proceed to launch. Please share your public launch date to your Maya Relationship Manager. |
Know your Integration
Subject to the availability, Maya Solutions offers support for REST API, Plugin, and SDK integrations.
- REST APIs are widely used in web development because of their simplicity, scalability, and flexibility. It uses HTTP requests to perform CRUD (Create, Read, Update, Delete) operations on data.
- Plugins extend the capabilities of the host application, allowing users to utilize modular component software to customize and enhance their experience based on their specific needs and preferences.
- SDK stands for Software Development Kit. It offers pre-built components and functionalities that developers can use to build applications without starting from scratch. Available for Maya Checkout solution
| API | Plugins | SDK | |
|---|---|---|---|
| Integration Type | Protocol-based integration over HTTPS. | Installation via the host platform such as Shopify, WooCommerce or Magento. | Incorporates pre-built libraries, tools, and APIs into your application. |
| Developer Requirements | Understanding of HTTP methods (GET, POST, PUT, DELETE), JSON data format, and API documentation. and be able to build a platform that will directly interact with Maya's API endpoints. | Understanding of the host application and compatibility requirements to develop and deploy plugins. | Knowledge of programming languages supported by the SDK, familiarity with the SDK's APIs and tools, and development environment setup. |
| Benefits | Platform-independent, scalable, facilitates data exchange between different systems, and enables integration with third-party services. | Extends application functionalities without modifying the core application. | Provides pre-built components and tools, simplifies development, ensures consistency, and offers advanced features and functionalities. |
| Limitations | Requires network connectivity, potential latency issues, rate limits, data transfer costs, and security concerns related to data transmission and authentication. | Compatibility issues with host applications, potential performance overhead, security risks if plugins are not vetted or maintained, and dependency on host application updates. | Dependency on SDK updates and maintenance, platform-specific, potential learning curve for developers, compatibility challenges with different application versions. |
Know the Required Compliance
All Merchants that accept cards and/or are involved with the processing, transmitting, or storing of card data must comply with the Payment Card Industry Data Security Standards (PCI DSS) .
For more details, make sure to read the PCI DSS Merchants Guideline .
Set up your sandbox environment. Your technical team is responsible for developing, debugging, and testing your sandbox.
The Sandbox environment provides an instance for integrating Maya solutions and testing development builds, without the risk of impacting live transactions and real customers. See also API Environments .
Sandbox Access
You will be onboarded to Maya’s sandbox environment for access and testing. Generate your API keys via Maya Manager or coordinate with your Maya Relationship Manager.
You must use these sandbox keys for building and testing your integration in the sandbox.
Sandbox Test Accounts
Use the sandbox Maya Wallet account and mock cards listed in Sandbox Credentials and Cards .
Maya is the only e-wallet available for testing in Sandbox. Other e-wallets like GCash, QRPh, ShopeePay, and WeChat can only be tested in the Production environment. For further inquiries, you may reach out to your Maya Relationship Manager.
Testing Use Cases
Conduct your testing in the sandbox, covering successful transactions, and error handling.
Not all errors can be tested in the Sandbox. However, clients should check all possible scenarios to ensure their system handles them correctly.
Refer to the API reference or troubleshooting guides for the list of errors and handling. Alternatively, use the search box (upper right corner of the Maya Developer Hub) to find the related information.
If you require technical assistance, please submit a ticket to the Maya Developer Hub Service Desk (also known as the ASKMAYADEV). For more information about the ASKMAYADEV, refer to this guide .
NEW! Sandbox Health Page
The Sandbox Health Page provides real-time updates on the status of our sandbox services, including any past or current downtimes. Checking this page helps you quickly determine if an issue is on our end, saving you time on troubleshooting.
The page is updated in real-time, so you always have the latest information. If you notice that the service is down, rest assured that our team is already working on a fix.
Submit your sandbox testing result along with your signoff, to your Maya Relationship Manager.
This will also initiate Maya’s acceptance testing and review of your platform. Maya will review your integration, conduct testing, provide feedback, or approve to proceed to production. Your Maya Relations Manager will coordinate with you on the schedule of Maya's acceptance testing.
Coordinate with your Maya Relationship Manager and complete the following checklists to go live in production.
The Production environment represents the live setting where actual transactions will result in real charges. Your technical team is responsible for the maintenance, debugging, and monitoring of your production environment. API Environments
Before Going to Production
Checklist before going live in Production:
After Going Live in Production
Checklist after going live in Production:
You must use real cards and e-wallet accounts when testing transactions in production. Keep in mind that transactions performed in production will incur real charges.
Download the Maya App now and create a Maya Account to test your integration in production.
Please refrain from raising production concerns in ASKAMAYADEV.
Should you encounter any issues or have concerns in production, kindly reach out to our production support team at [email protected].
Share your feedback by completing the
Maya Developer Hub Integration Survey
to help us enhance our service and support.
Periodic Compliance Review
For further information, you may refer to PCI DSS Merchants Guideline and reach out to your Maya Relationship Manager.
Back-office and Operations
Voids and Refunds
Transactions created can be voided or refunded following certain conditions.
Void and Refund functionality is available via Manager or API. To enable this functionality reach out to your Maya Relationship Manager.
For more details see Voids and Refunds
Settlement
Settlement varies for each partner. For more details on the settlement, reach out to your Maya Relationship Manager or [email protected].
Support
Check out our Support page for the directory of contact details.
Updated about 2 months ago